There's a special kind of magic in capturing those fleeting moments of infancy.
DIY keepsakes, whether they involve tiny handprints, delicate footprints, or sculpted clay impressions, offer a beautiful way to preserve these precious memories.
These projects are not just crafts; they're tangible pieces of love, perfect for cherishing the early days and creating heirlooms that will be treasured for years to come..
1. Charming Handprint Art Keepsakes
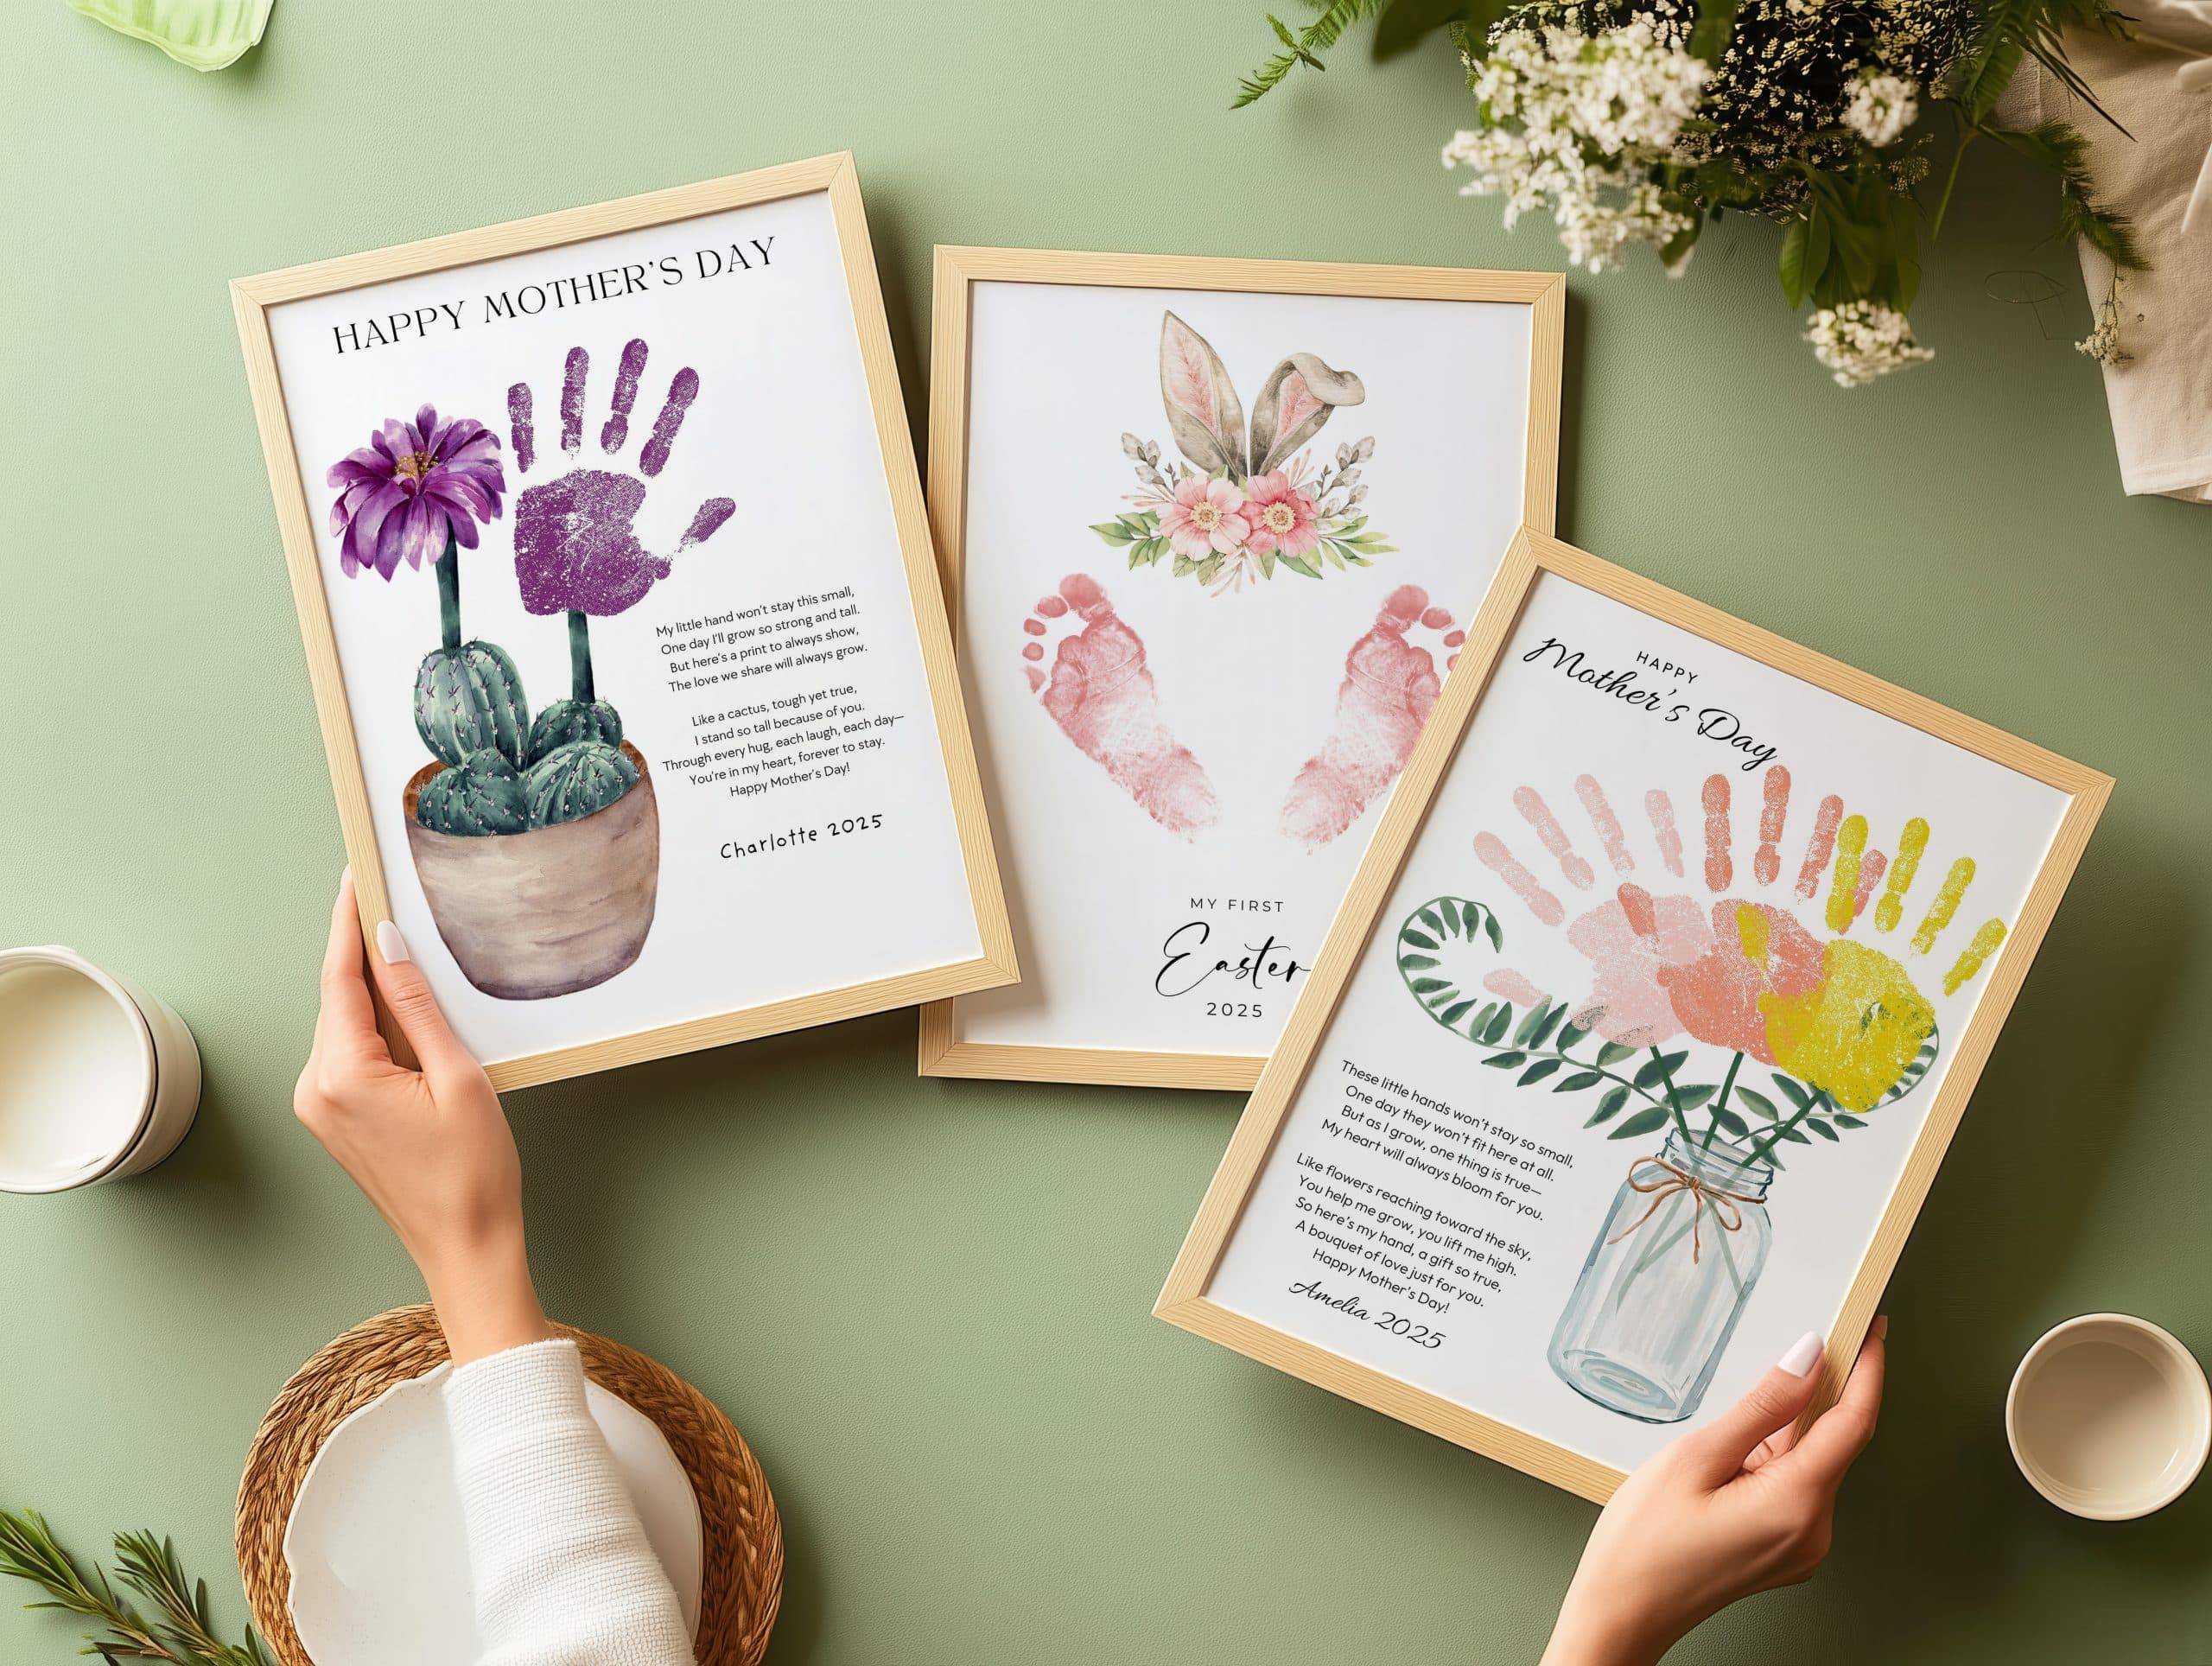
Transform little hands into colorful works of art with this delightful DIY.
Using washable paints on sturdy cardstock, you can create unique prints that capture the size and shape of your baby's hands.
It's a wonderful way to add a personal touch to your home decor or create heartfelt gifts for loved ones..
Materials Used:
- Cardstock paper
- Washable paints
- Paintbrush
Why You’ll Love This Project:
- Sentimental
- Interactive
- Personalized Decor
Pro Tip: Encourage your little one to wiggle their fingers and toes to make the prints even more expressive.
Learn How It’s Made: Charming Handprint Art Keepsakes
2. Minimal Mess Footprint Crafting

Creating sweet footprint art doesn't have to be a messy endeavor.
This guide offers clever tips for using washable paints or ink pads to capture those tiny feet with ease.
It's about making the process enjoyable for both parent and baby, resulting in charming keepsakes that celebrate growth..
Materials Used:
- Cardstock paper
- Washable paint or ink pads
- Wet wipes for cleanup
Why You’ll Love This Project:
- Low Mess
- Easy Cleanup
- Sweet Memories
Pro Tip: Use a large ink pad for a quick and clean way to get a perfect footprint imprint.
Learn How It’s Made: Minimal Mess Footprint Crafting
3. Adorable Footprint Crayon Keepsakes
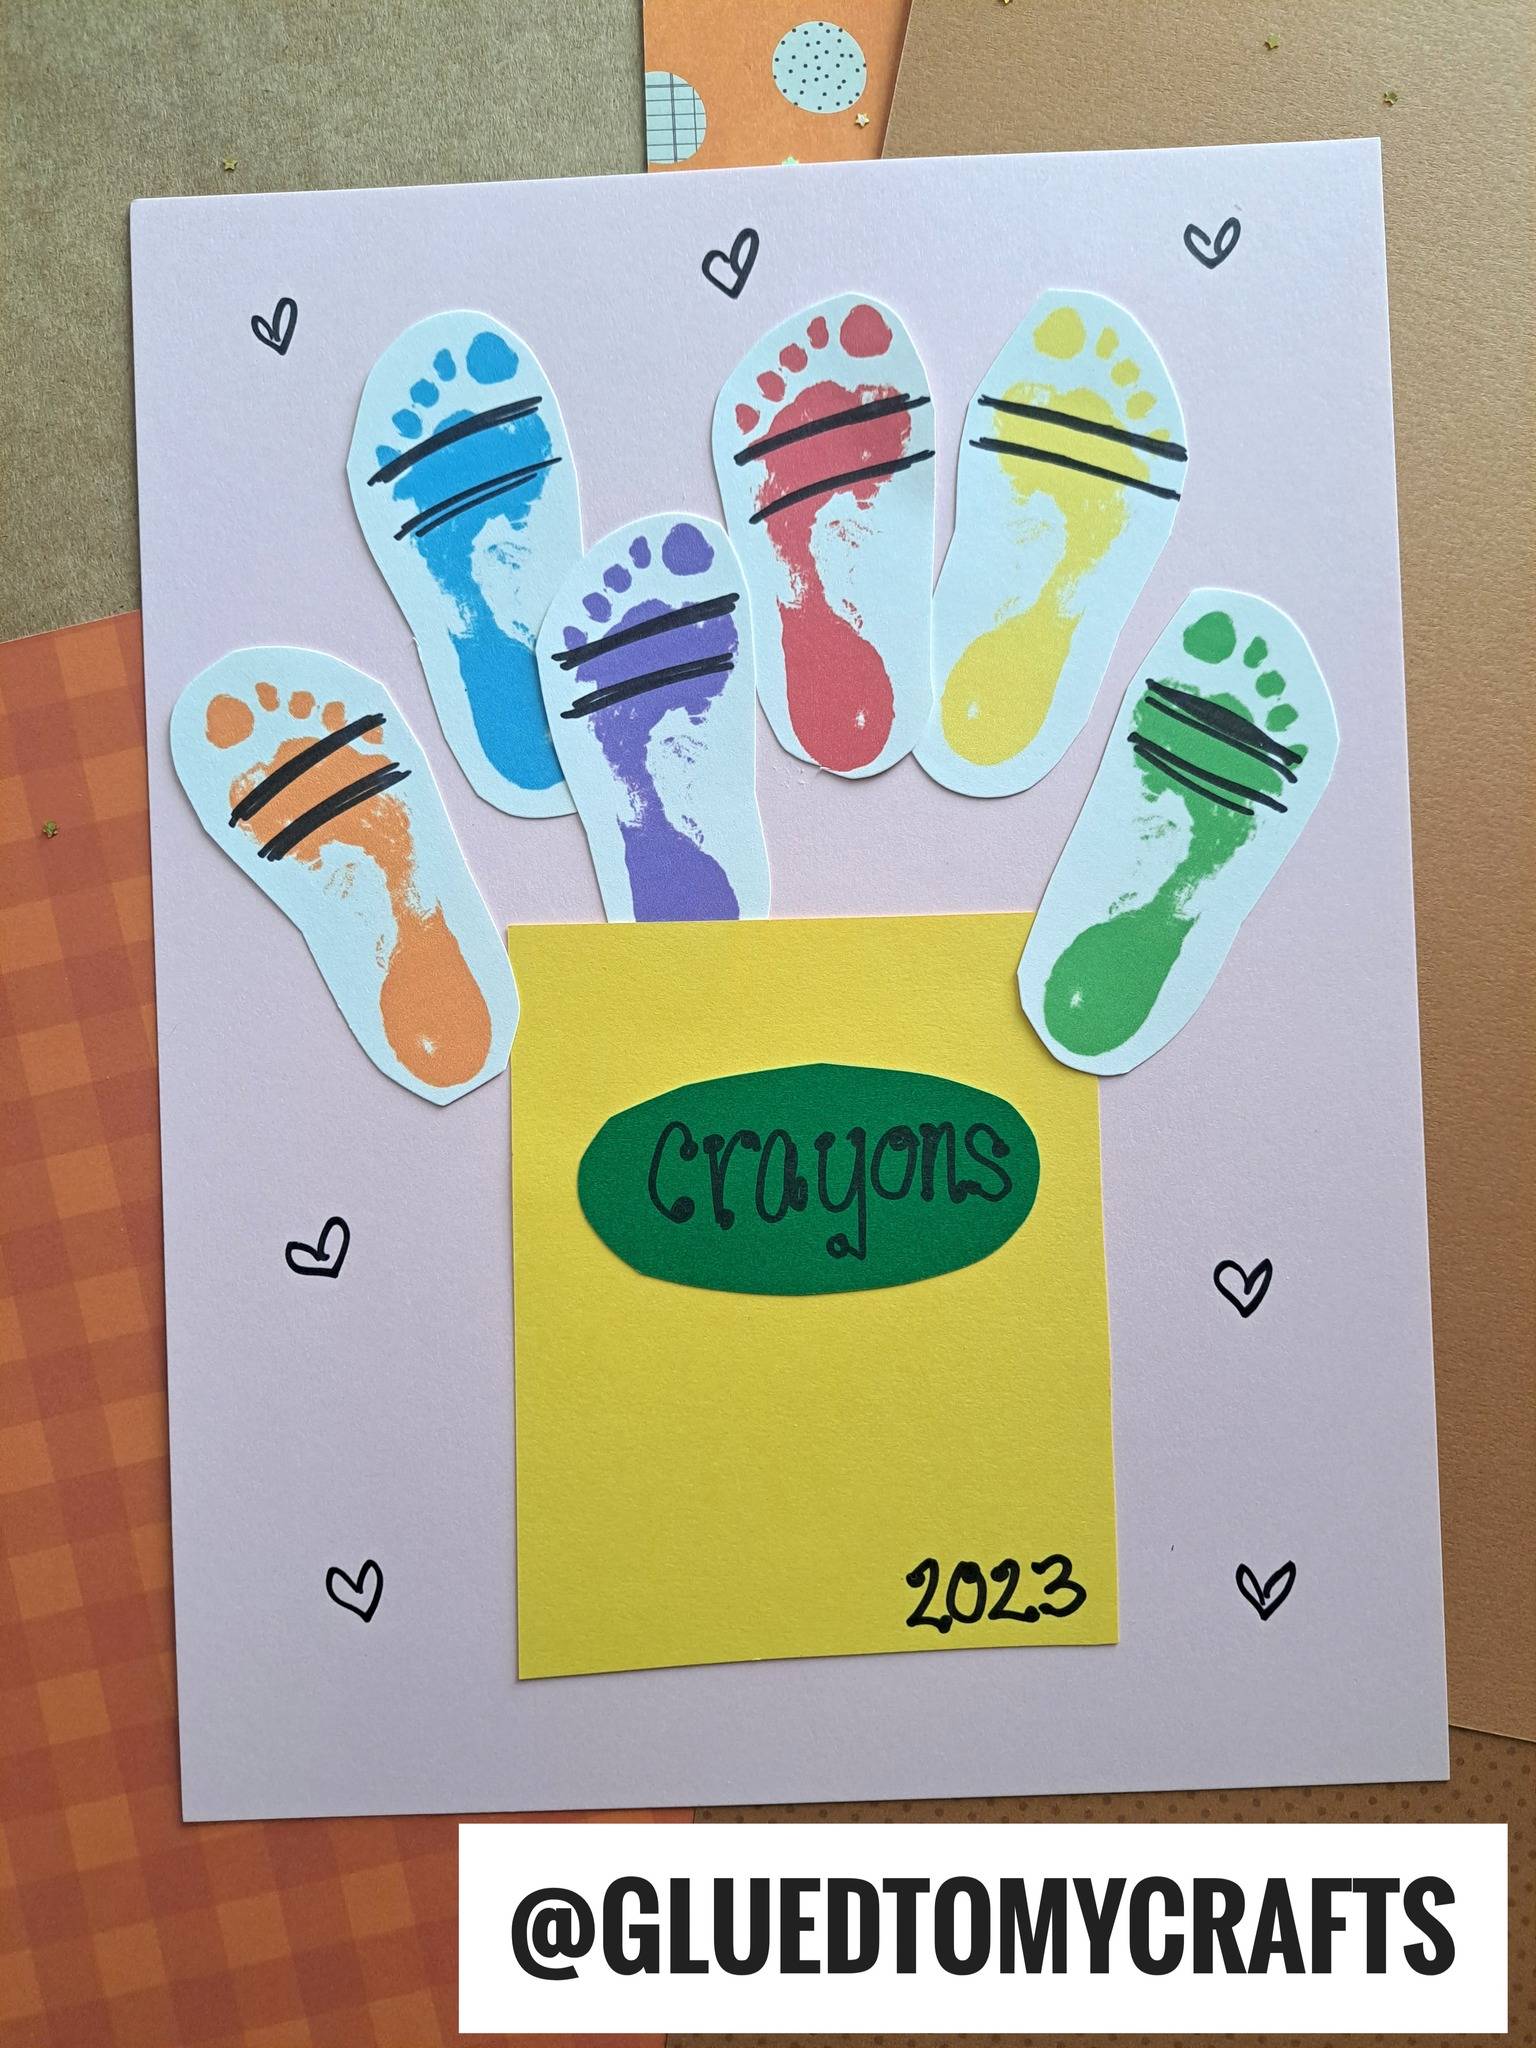
Imagine tiny footprints transformed into colorful crayons! This imaginative craft turns baby's prints into whimsical crayon shapes, mounted within a playful crayon box design.
It's a creative and charming way to commemorate little feet and adds a touch of playful art to any space..
Materials Used:
- Washable craft paint
- Cardstock paper
- Scissors
- Black marker
Why You’ll Love This Project:
- Playful Design
- Unique Keepsake
- Artistic Transformation
Pro Tip: Add a black marker line to each footprint cutout to enhance the crayon illusion.
Learn How It’s Made: Adorable Footprint Crayon Keepsakes
4. Sculpted Clay Handprint Keepsake Frame
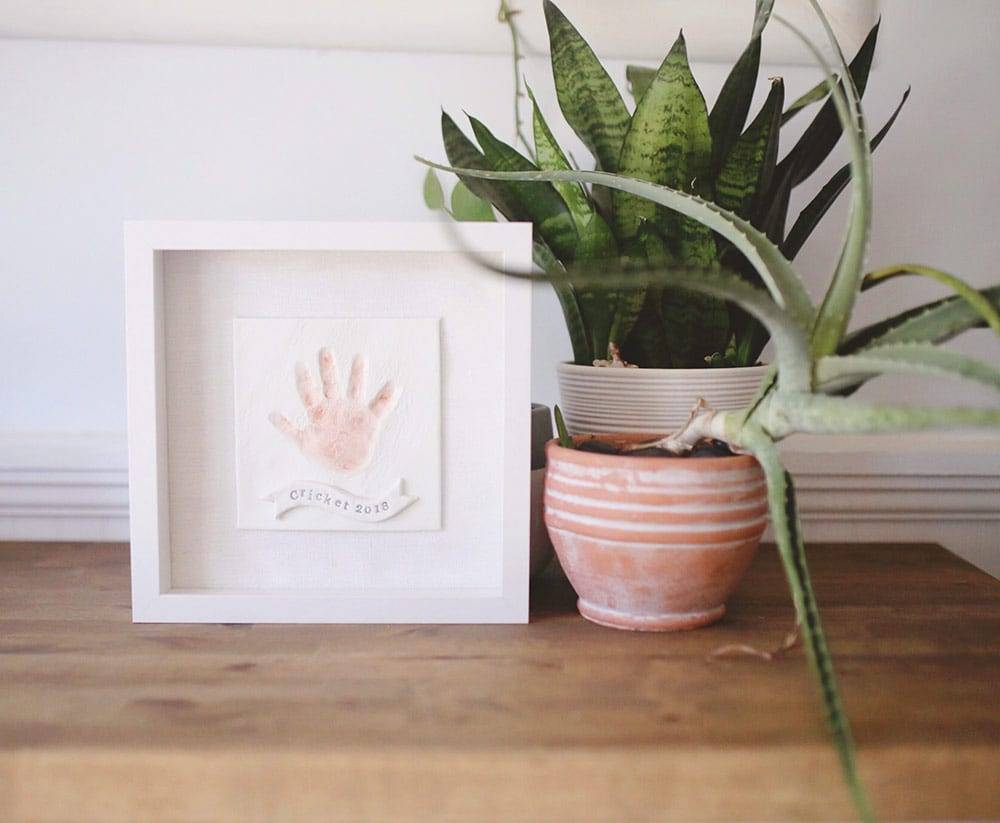
Create a beautiful, tactile keepsake by pressing a baby's hand into soft air-dry clay.
This project allows for the creation of a detailed impression that can be framed or even turned into an ornament.
Personalize it further by adding a name or date, resulting in a timeless heirloom..
Materials Used:
- Air dry clay
- Shadow box frame
- Alphabet stamps
Why You’ll Love This Project:
- 3D Impression
- Elegant Finish
- Durable Keepsake
Pro Tip: Roll the clay on parchment paper to easily peel it off after making the handprint.
Learn How It’s Made: Sculpted Clay Handprint Keepsake Frame
5. Bold Canvas Footprint Artwork
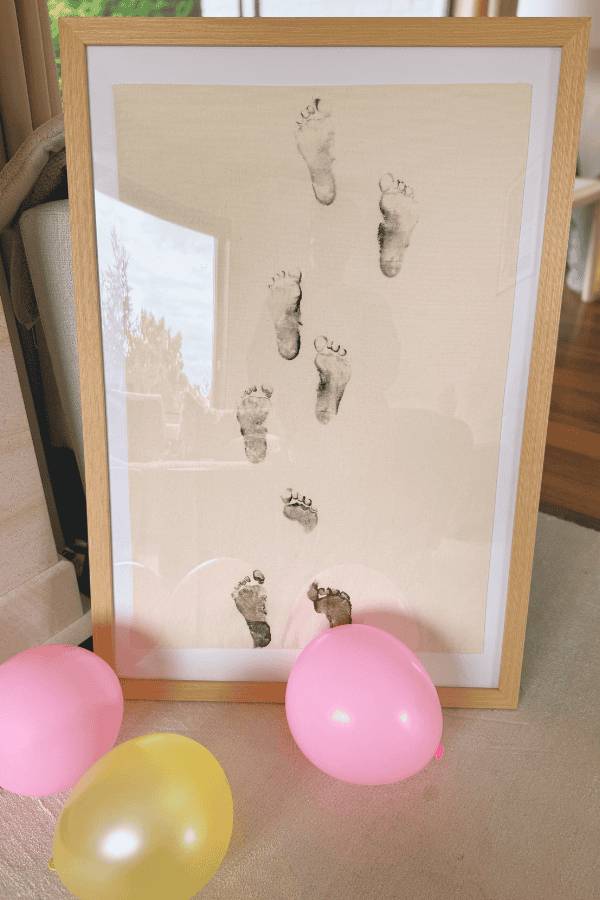
Make a statement with a large-scale footprint artwork on canvas.
This method uses bold colors and simple techniques to create a striking piece that celebrates baby's feet.
It's an engaging process that turns a simple footprint into a modern, treasured art piece for your home..
Materials Used:
- Unbleached canvas
- Acrylic or fabric paint
- Soft makeup brush
Why You’ll Love This Project:
- Large Scale Art
- Modern Aesthetic
- Memorable Activity
Pro Tip: Painting the feet with a soft brush instead of dipping them can help control the amount of paint used.
Learn How It’s Made: Bold Canvas Footprint Artwork
6. Stacked Footprint Family Frame
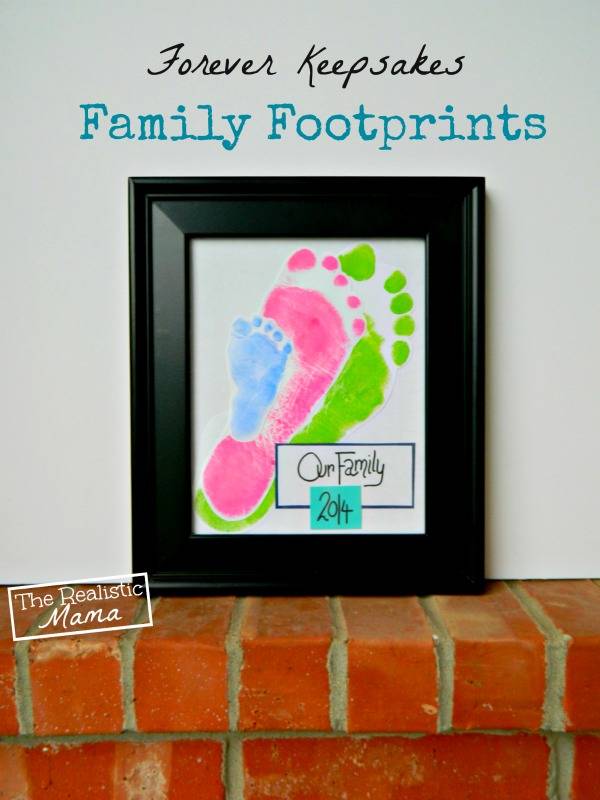
Capture the growth of your family with a beautifully stacked footprint frame.
Each family member adds their unique print, layered together to create a charming visual narrative of togetherness.
This project is a joyful way to create a collective keepsake that represents love and connection..
Materials Used:
- White paper
- Ink pads or paint
- Frame
Why You’ll Love This Project:
- Family Portrait
- Symbolic Layering
- Cherished Heirloom
Pro Tip: Cut around the footprints with a small white edge to add dimension when stacking.
Learn How It’s Made: Stacked Footprint Family Frame
7. Salt Dough Handprint Pumpkins
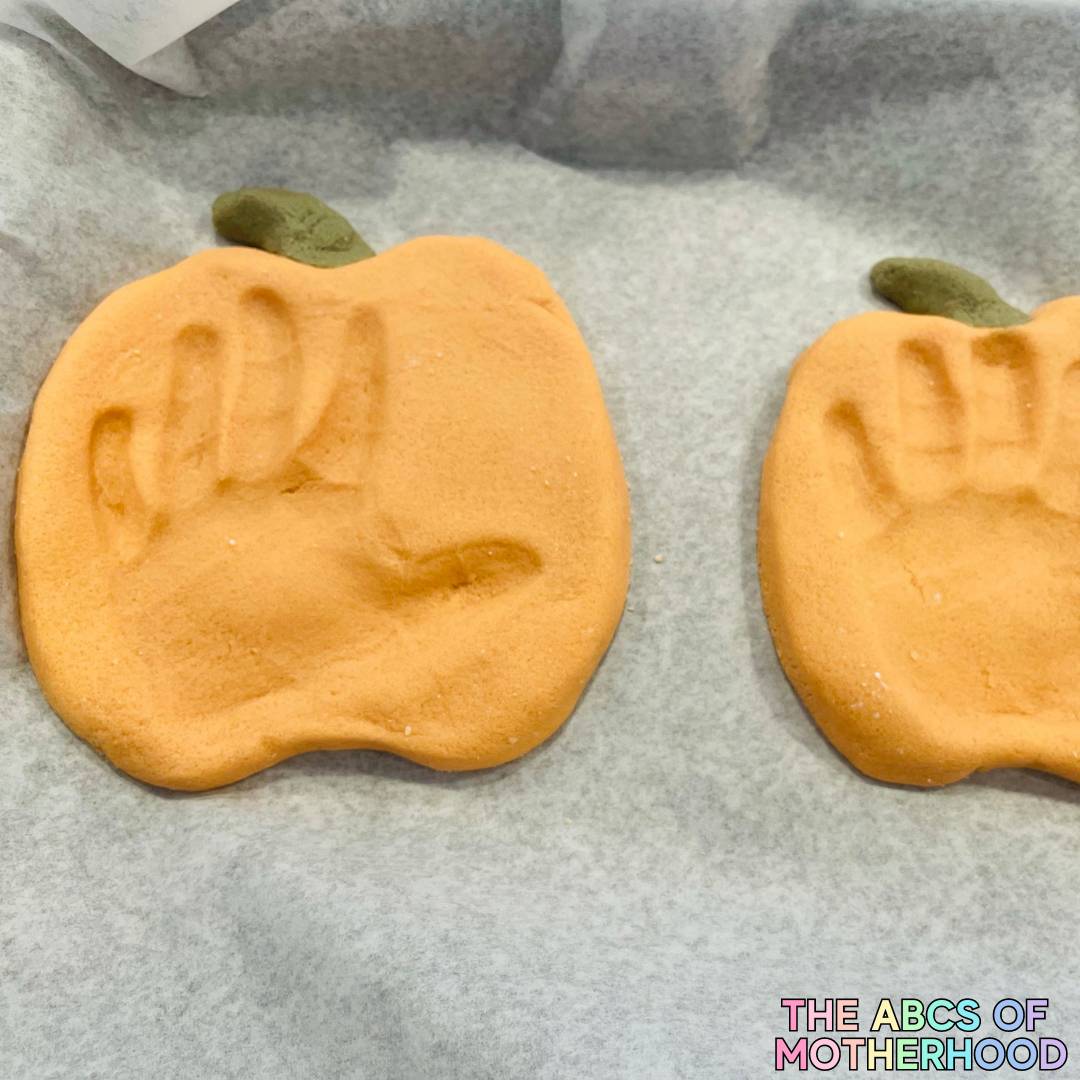
Capture the season's charm with adorable salt dough pumpkins, imprinted with your little one's hand.
This delightful craft uses simple kitchen staples to create a textured keepsake.
Imagine the joy of seeing those tiny prints transformed into a festive fall decoration, a sweet reminder of growing hands..
Materials Used:
- Salt
- Flour
- Water
- Food Coloring
- Rolling Pin
- Pizza Cutter
Why You’ll Love This Project:
- Handprint Impression
- Seasonal Decor
- Kid-Friendly Activity
Pro Tip: Experiment with natural food colorings for a softer, earthier palette.
Learn How It’s Made: Salt Dough Handprint Pumpkins
8. Floral Handprint Keepsake Art
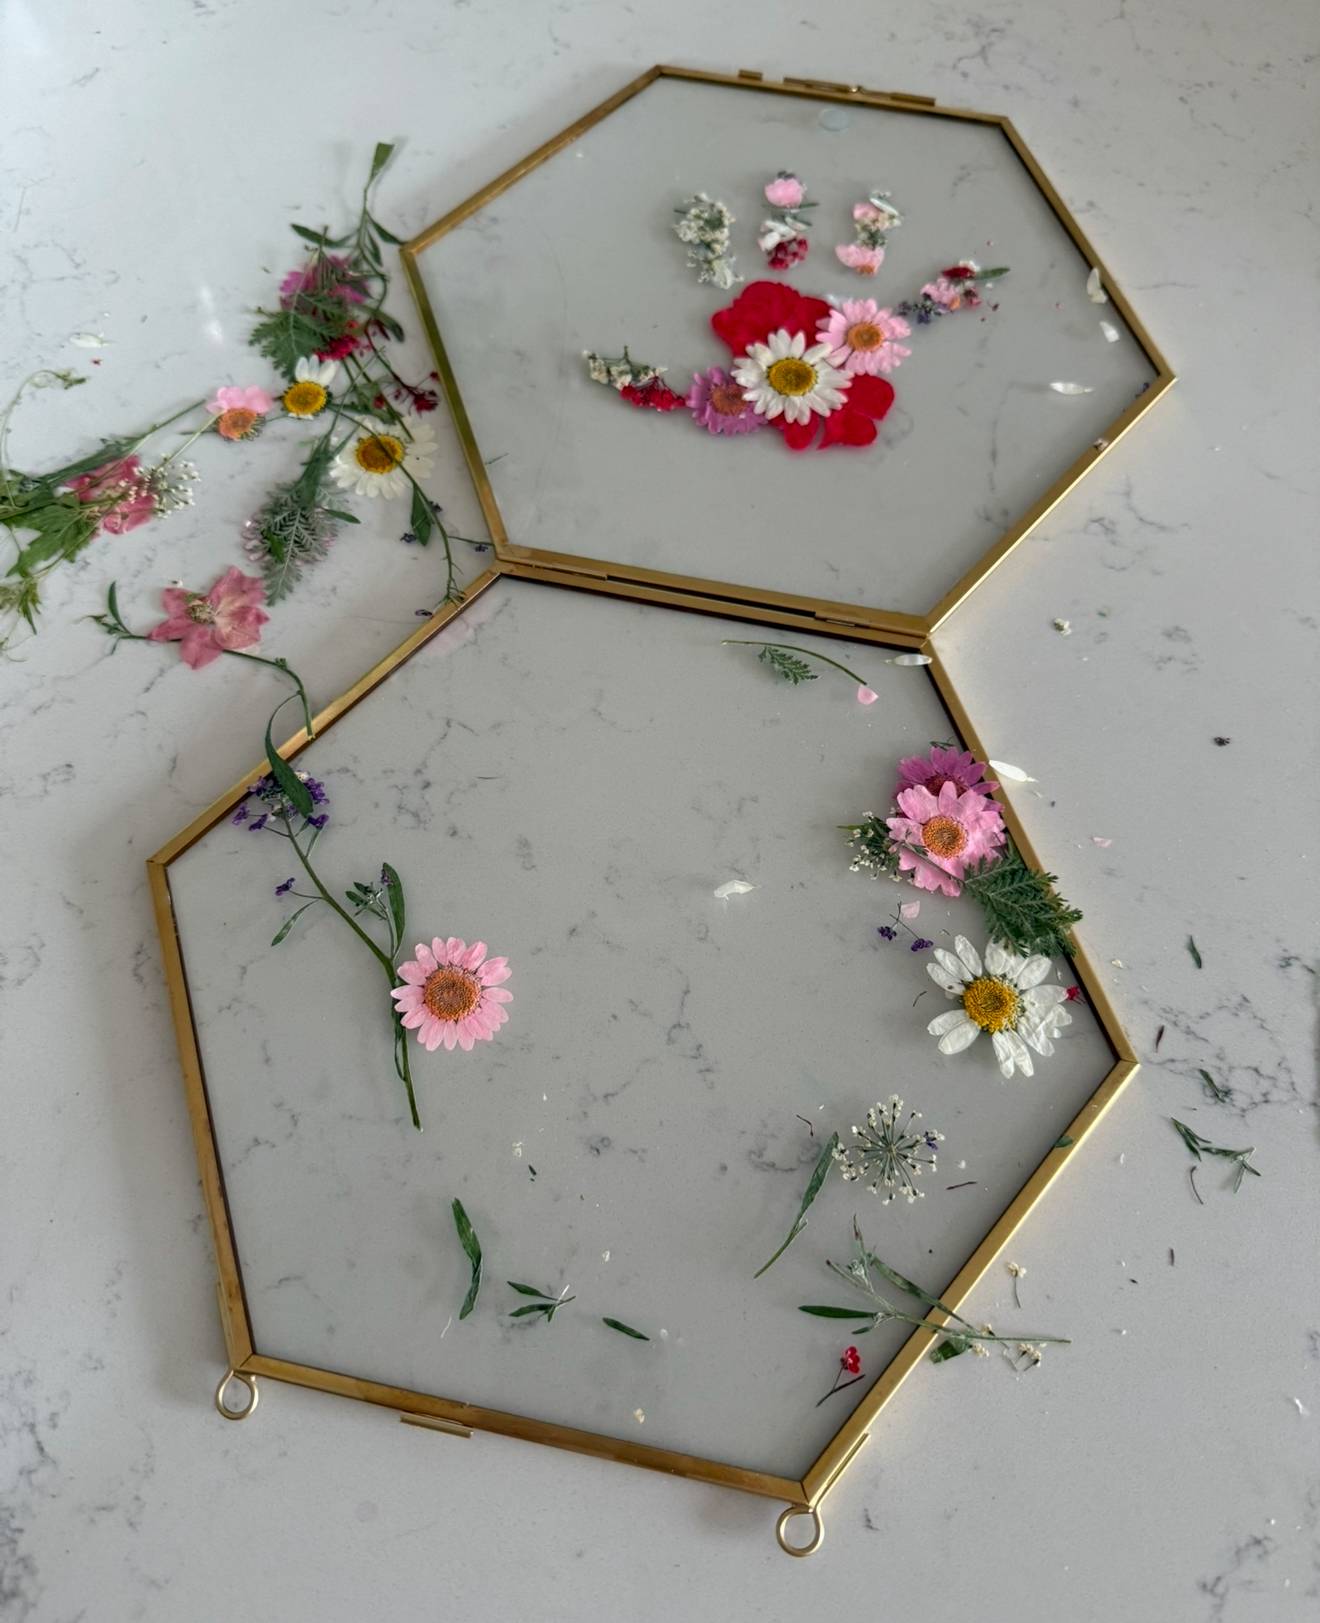
Create a breathtaking floral handprint or footprint keepsake that doubles as beautiful wall art.
By using ink pads to capture delicate prints and arranging dried flowers around them, you craft a sentimental piece.
It’s a wonderful way to preserve those tiny digits, making it an ideal gift for new parents or a cherished item for any nursery..
Materials Used:
- Cardstock
- Ink Pad
- Dried Flowers
- Floating Frame
- Mod Podge
Why You’ll Love This Project:
- Floral Embellishment
- Sentimental Value
- Custom Wall Art
Pro Tip: Use a thin layer of Mod Podge to secure the dried flowers for a lasting finish.
Learn How It’s Made: Floral Handprint Keepsake Art
9. Classic Salt Dough Handprint Plaques
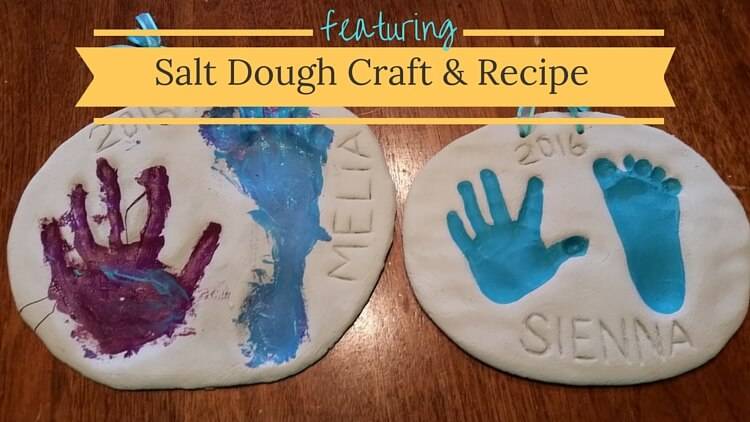
Rediscover the timeless charm of salt dough handprint plaques.
This simple recipe yields a wonderfully moldable dough, perfect for pressing in little hands or feet.
Once baked and painted, these become enduring keepsakes, capturing the exact size of your child's precious prints for years of cherished memories..
Materials Used:
- Salt
- Flour
- Water
- Acrylic Paint
- Varnish
Why You’ll Love This Project:
- Timeless Keepsake
- Hand & Foot Imprints
- Durable Craft
Pro Tip: Use a skewer to create a hole for hanging before baking for an instant ornament.
Learn How It’s Made: Classic Salt Dough Handprint Plaques
10. Thumbprint Butterfly Mugs
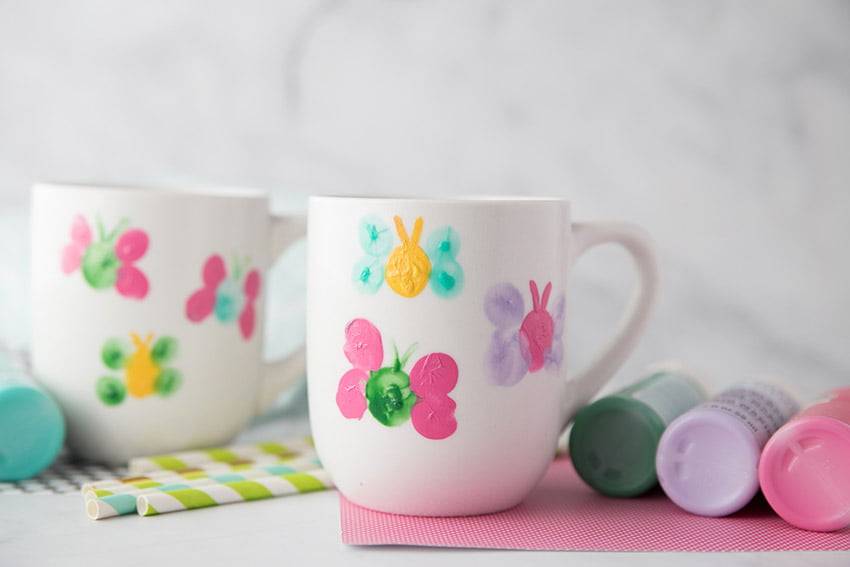
Transform a simple white mug into a delightful piece of art with thumbprint butterflies.
This easy craft uses enamel acrylic paint to create vibrant wings, with a tiny brush adding delicate antennae.
It’s a sweet, personalized gift that’s both functional and a lovely reminder of little hands creating beauty..
Materials Used:
- White Mug
- Enamel Acrylic Paint
- Small Paint Brush
- Mod Podge Dishwasher Safe Sealer
Why You’ll Love This Project:
- Thumbprint Art
- Personalized Gift
- Functional Keepsake
Pro Tip: Use a dishwasher-safe sealer for added durability, though handwashing is recommended for longevity.
Learn How It’s Made: Thumbprint Butterfly Mugs
11. Mail a Hug Handprint Art
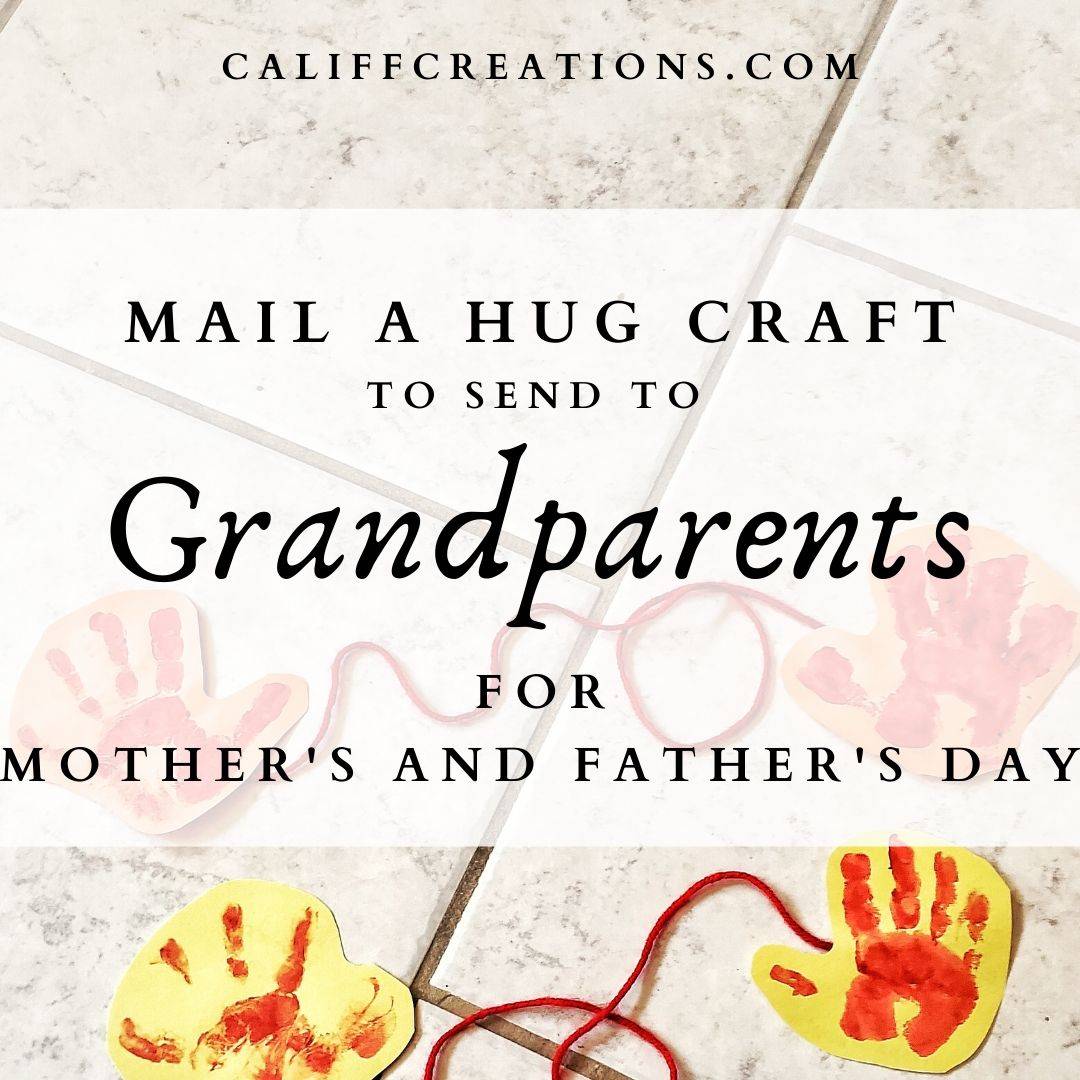
Send a tangible hug through the mail with this charming handprint craft.
By painting and stamping little hands onto paper, then connecting them with yarn representing their arm span, you create a heartwarming gift.
It’s a creative way to bridge distances and let grandparents feel the warmth of their grandchildren's embrace..
Materials Used:
- Construction Paper
- Paint
- Yarn or String
- Tape
Why You’ll Love This Project:
- Distance Bridging
- Handprint Connection
- Heartfelt Gesture
Pro Tip: Trace around the hands for a cleaner outline, especially if the paint is very liquid.
Learn How It’s Made: Mail a Hug Handprint Art
12. Festive Footprint Christmas Keepsakes
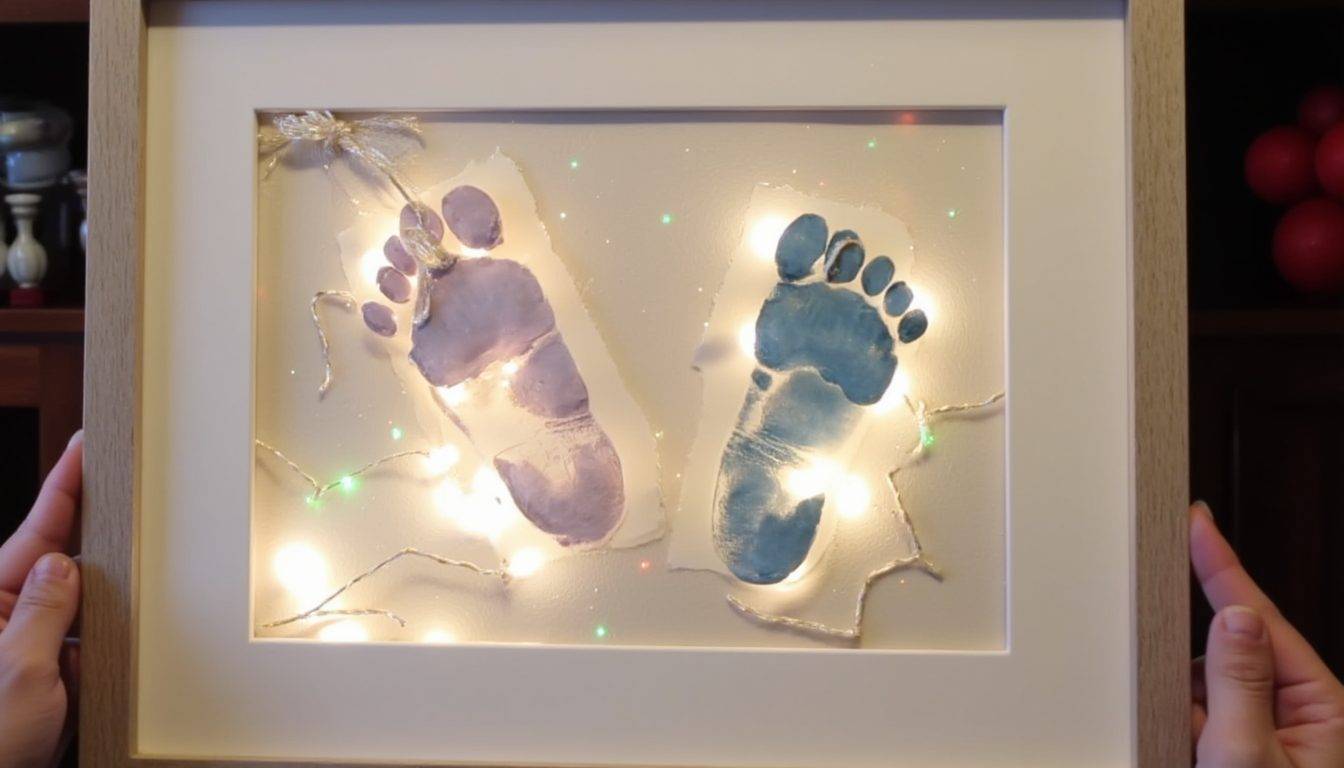
Celebrate the magic of the holidays by turning little feet into festive art.
From reindeer ornaments and Grinch characters to Christmas trees made of footprints, these ideas capture the joy of a baby's first Christmas.
Each project transforms a tiny footprint into a cherished holiday treasure for years to come..
Materials Used:
- Paint
- Canvas
- Ornaments
- Cardstock
- Markers
Why You’ll Love This Project:
- Holiday Theme
- Footprint Art
- Baby's First Christmas
Pro Tip: Use washable, non-toxic paint and have wet wipes ready for quick cleanups.
Learn How It’s Made: Festive Footprint Christmas Keepsakes
13. Baby Clothes Memory Quilt: Weaving Stories into Fabric

Transform cherished baby clothes into a beautiful memory quilt, a cozy blanket woven with the warmth of early moments.
Each square tells a story of first snuggles and tiny milestones, creating a tangible piece of love to keep close..
Materials Used:
- Selected baby clothes
- Backing fabric
- Batting
- Thread
Why You’ll Love This Project:
- Sentimental Value
- Heirloom Quality
- Cozy Texture
Pro Tip: Mix different fabric textures for a richer, more tactile quilt.
Learn How It’s Made: Baby Clothes Memory Quilt: Weaving Stories into Fabric
14. Baby Clothes Shadow Box: A Framed Portrait of Memories

Create a beautiful shadow box to showcase a favorite onesie, tiny hat, or hospital bracelet.
This elegant display captures those precious first moments, turning beloved baby items into a timeless piece of art for your home..
Materials Used:
- Special baby clothes
- Shadow box frame
- Backdrop fabric or paper
- Mounting materials
Why You’ll Love This Project:
- Personalized Display
- Visual Storytelling
- Cherished Keepsake
Pro Tip: Include a small photo or a handwritten note alongside the clothing items.
Learn How It’s Made: Baby Clothes Shadow Box: A Framed Portrait of Memories
15. Snuggly Stuffed Animal or Pillow from Baby Clothes

Turn soft baby outfits into a huggable stuffed animal or a comforting pillow.
This project transforms everyday garments into a beloved companion, filled with the essence of early memories..
Materials Used:
- Soft baby clothes
- Stuffing (fiberfill)
- Sewing materials
- Simple pattern
Why You’ll Love This Project:
- Huggy Companion
- Soft Textures
- Playful Design
Pro Tip: Use different patterned fabrics for unique stuffed animal details.
Learn How It’s Made: Snuggly Stuffed Animal or Pillow from Baby Clothes
16. Meaningful Holiday Ornaments from Baby Clothing Scraps

Craft tiny, meaningful ornaments from precious baby clothing scraps.
These small treasures, adorning your tree year after year, hold big memories and add a sentimental touch to holiday decorations..
Materials Used:
- Fabric scraps from baby clothes
- Felt or cotton backing
- Ribbon or twine
- Embroidery floss
Why You’ll Love This Project:
- Festive Keepsake
- Small Delights
- Handmade Charm
Pro Tip: Embellish with small embroidery stitches or fabric markers for a personal touch.
Learn How It’s Made: Meaningful Holiday Ornaments from Baby Clothing Scraps
17. Soft Baby Book or Sensory Toy from Textured Fabrics

Create a soft baby book or sensory toy using the varied textures of baby clothes.
These tactile keepsakes engage little ones with gentle colors and varied fabrics, perfect for passing down through the family..
Materials Used:
- Colorful baby clothes
- Fiberfill (for stuffing)
- Ribbons, felt shapes
- Sewing machine
Why You’ll Love This Project:
- Sensory Engagement
- Gentle Textures
- Passing Down Love
Pro Tip: Incorporate crinkle paper or ribbons for added sensory exploration.
Learn How It’s Made: Soft Baby Book or Sensory Toy from Textured Fabrics
18. Charming Footprint and Handprint Art Keepsakes
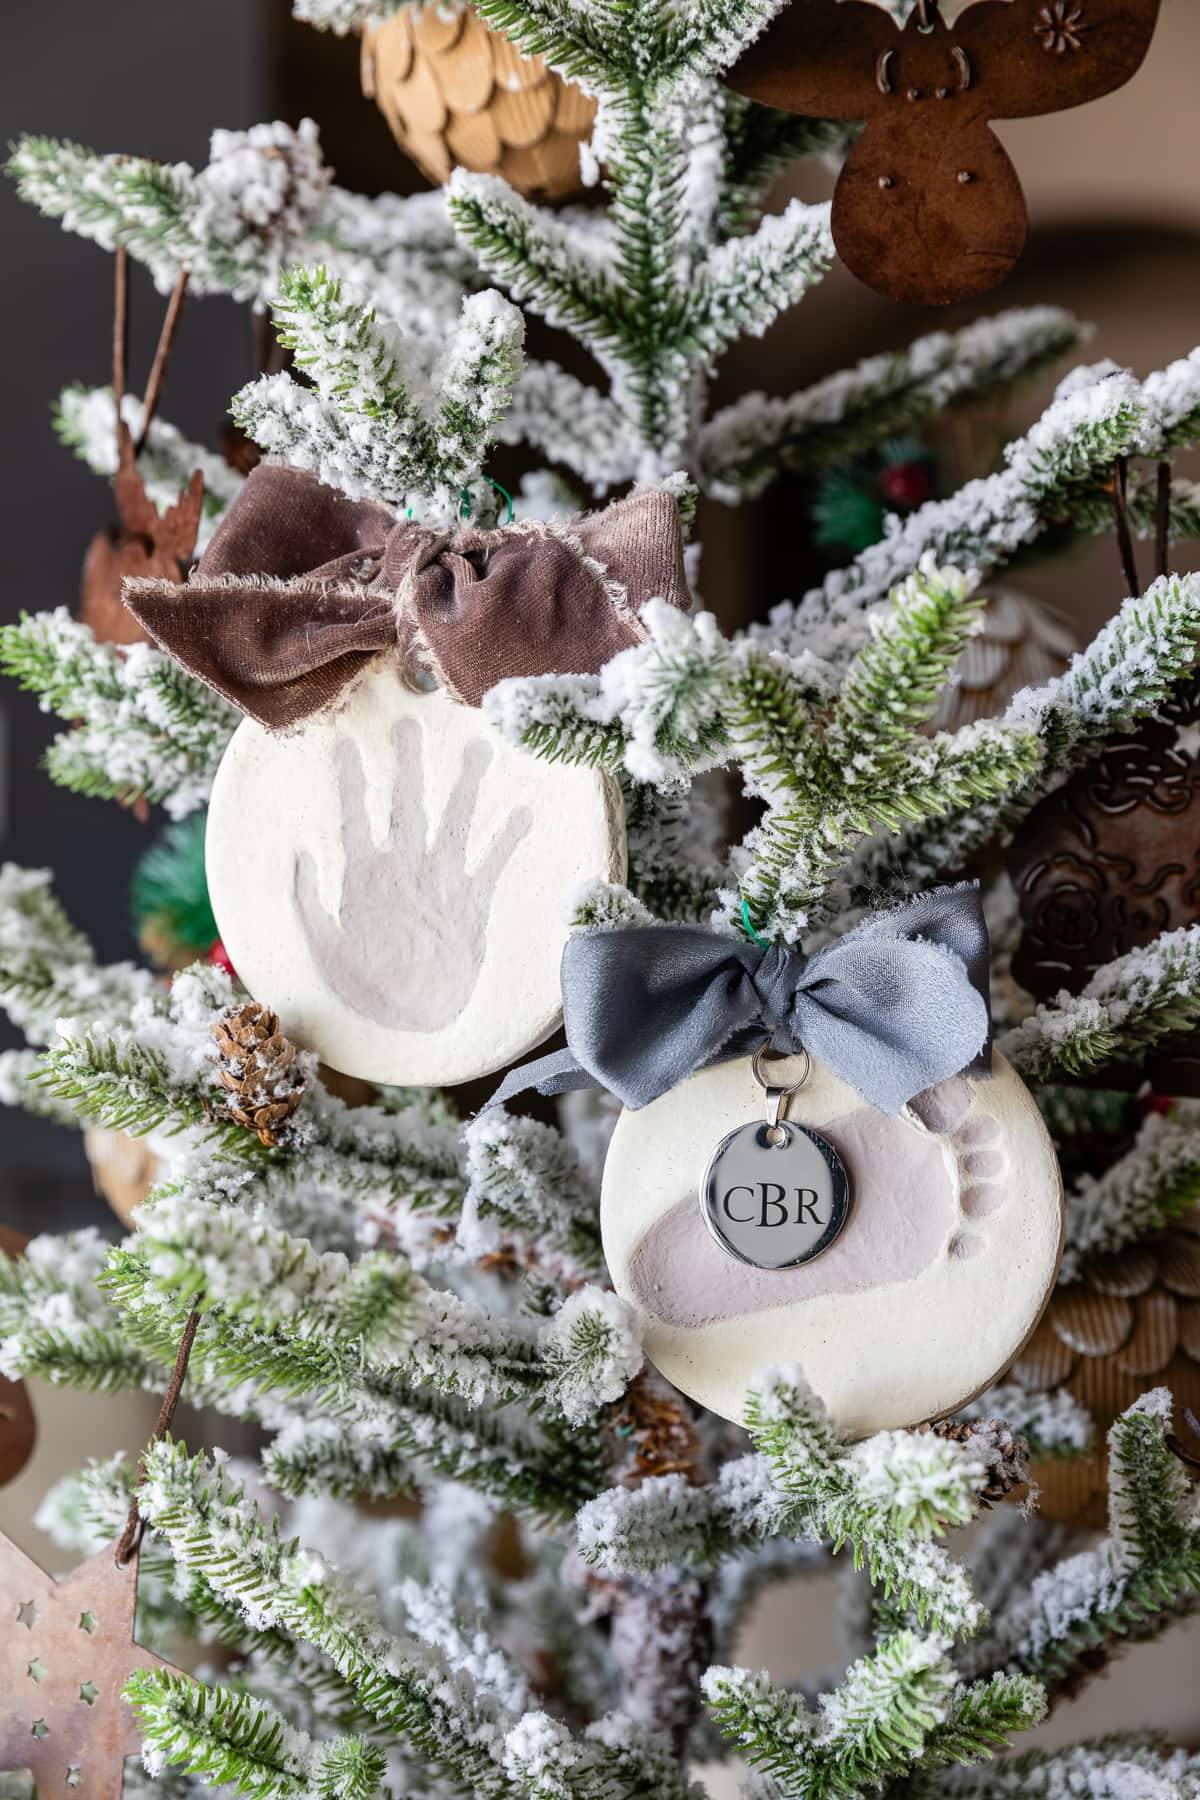
Capture those fleeting tiny hands and feet with adorable footprint and handprint artwork.
Using simple dough or clay, these impressions become delightful keepsakes that beautifully mark a child's growth..
Materials Used:
- Flour, salt, water (for salt dough)
- Air-dry clay
- Cookie cutters
- Paint
- Ribbon
Why You’ll Love This Project:
- Tiny Impressions
- Lasting Memories
- Sweet Personalization
Pro Tip: Gently press the child's hand or foot in a way that spreads the fingers or toes for a clearer imprint.
Learn How It’s Made: Charming Footprint and Handprint Art Keepsakes
19. Handmade Plaster Footprint Impressions

Create delicate plaster impressions of a baby's foot, offering a wonderfully tactile keepsake.
This craft captures the unique shape of a little foot in a refined and artistic way..
Materials Used:
- Clay
- Plaster
- Bowl or cookie cutter
Why You’ll Love This Project:
- Delicate Impressions
- Artistic Finish
- Unique Texture
Pro Tip: Pad down the edges of the impression with a few drops of water to smooth them.
Learn How It’s Made: Handmade Plaster Footprint Impressions
20. Playful Paper Plate Animal Masks
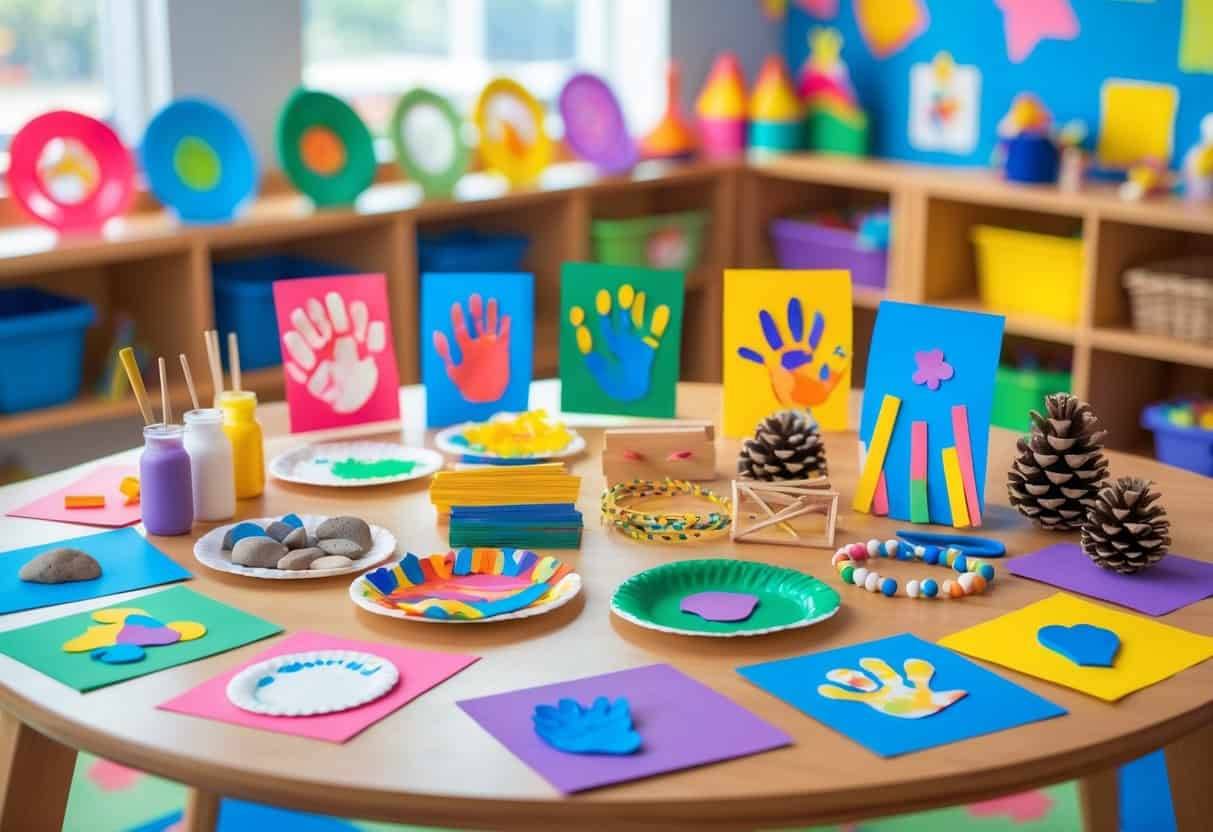
Let imagination take flight with playful paper plate animal masks! These easy-to-decorate creations bring out bright colors and a sense of fun for little artists exploring their favorite creatures..
Materials Used:
- Paper plates
- Markers
- Scissors
- Paint
Why You’ll Love This Project:
- Imaginative Play
- Colorful Creations
- Beginner Friendly
Pro Tip: Use printable templates for a quick and easy start to mask design.
Learn How It’s Made: Playful Paper Plate Animal Masks
21. Wiggly DIY Moving Paper Snakes
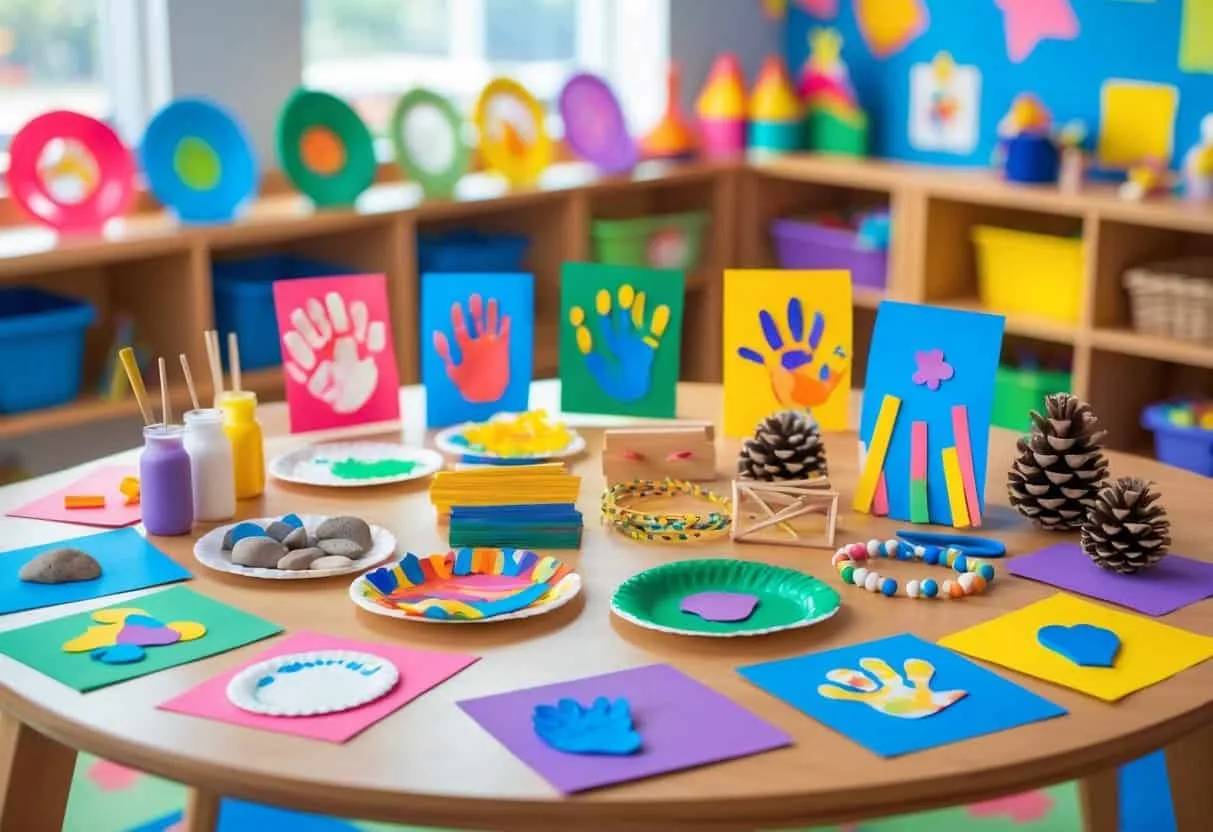
Create delightful, slithering paper snakes that twist and turn with a gentle push.
This low-mess craft uses simple paper and a bit of imagination to bring these wiggly wonders to life..
Materials Used:
- Colored paper
- Yarn
- Markers
- Scissors
Why You’ll Love This Project:
- Interactive Fun
- Simple Mechanics
- Playful Movement
Pro Tip: Experiment with different paper patterns for unique snake scales.
Learn How It’s Made: Wiggly DIY Moving Paper Snakes
22. Vibrant Alphabet Stamping with Potatoes
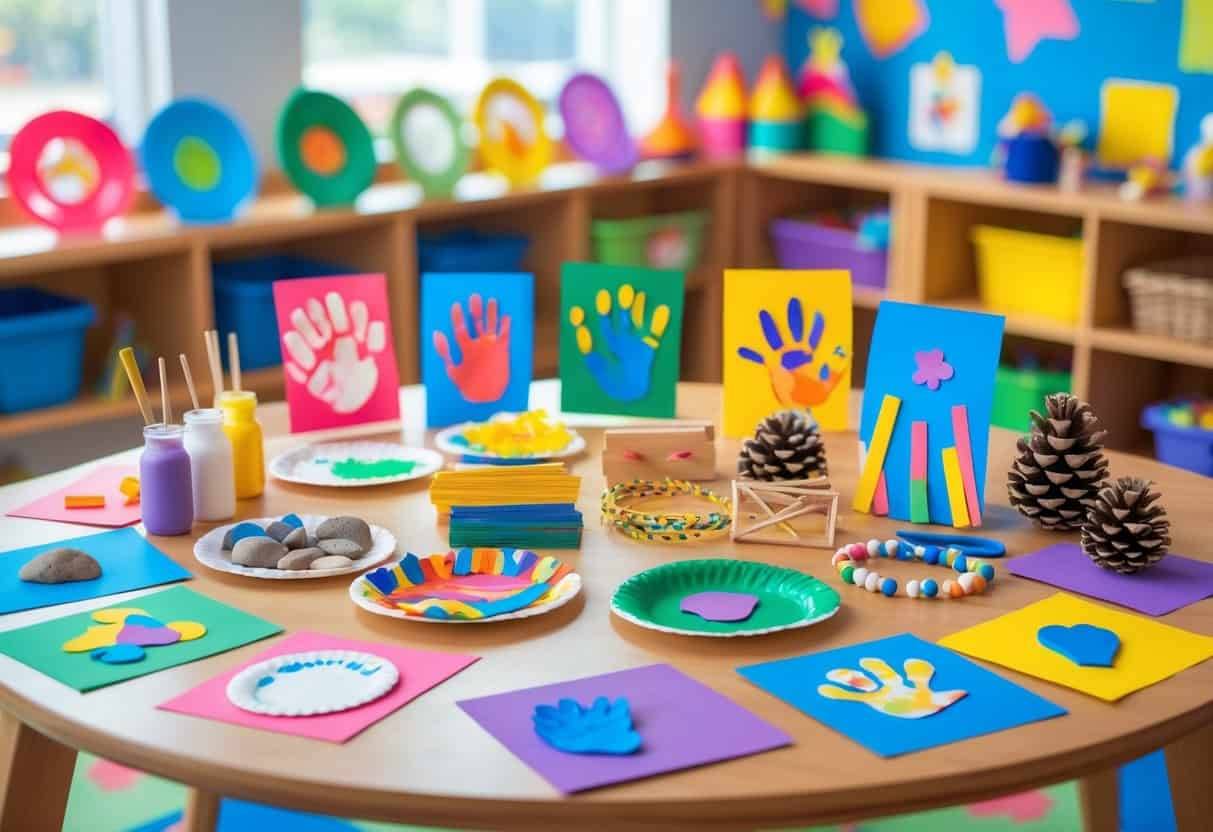
Discover the joy of learning letters through playful potato stamping! Carving simple shapes into potatoes and dipping them in bright paint creates wonderfully messy, educational art..
Materials Used:
- Potatoes
- Paint
- Paper
Why You’ll Love This Project:
- Hands-on Learning
- Colorful Splatters
- Creative Discovery
Pro Tip: Use a variety of paint colors for each letter to make a vibrant alphabet chart.
Learn How It’s Made: Vibrant Alphabet Stamping with Potatoes
23. Textured Sensory Rice Bins for Little Explorers
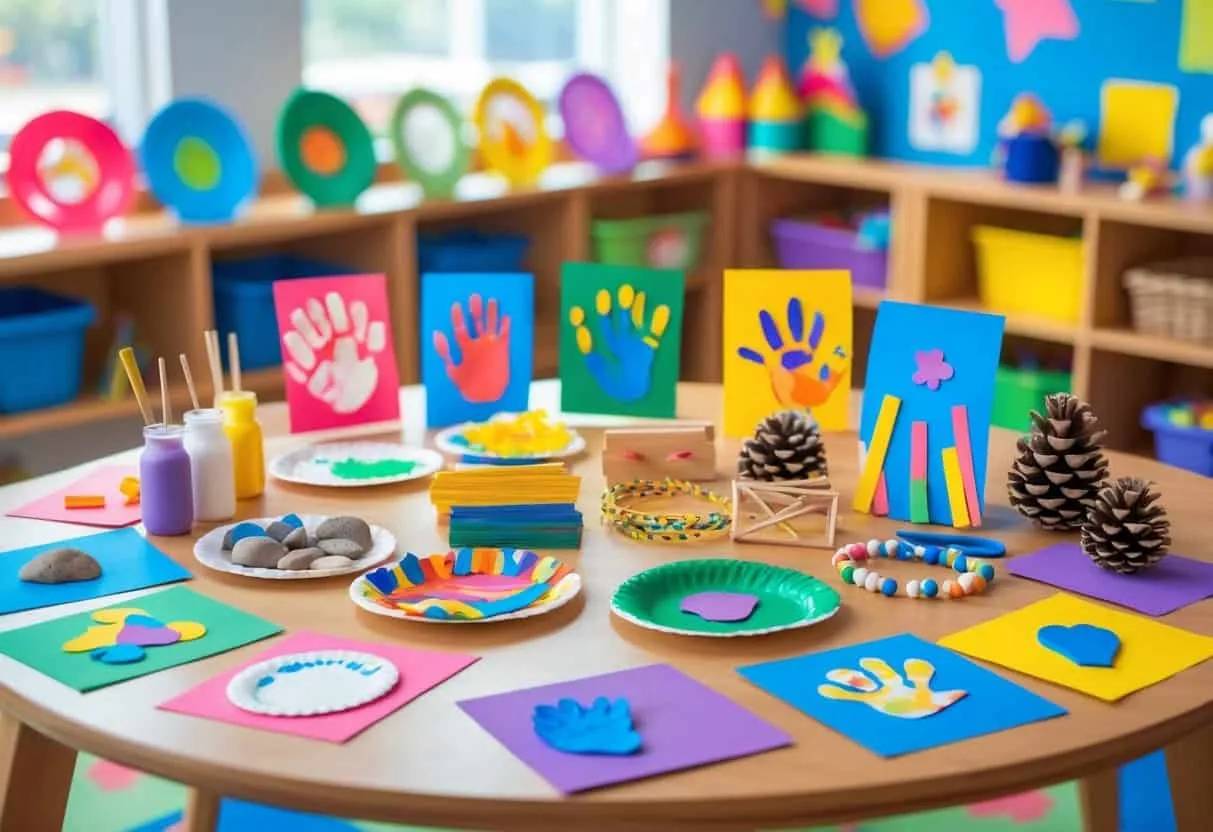
Engage curious minds and hands with colorful, textured sensory rice bins.
Scooping, pouring, and digging in these vibrant bins offers a tactile adventure for tiny explorers..
Materials Used:
- Dry rice
- Plastic bin
- Measuring spoons and cups
Why You’ll Love This Project:
- Tactile Exploration
- Calming Activity
- Imaginative Play
Pro Tip: Add small toys, scoops, and cups for varied play possibilities.
Learn How It’s Made: Textured Sensory Rice Bins for Little Explorers
24. Blooming Handprint Flower Bouquets
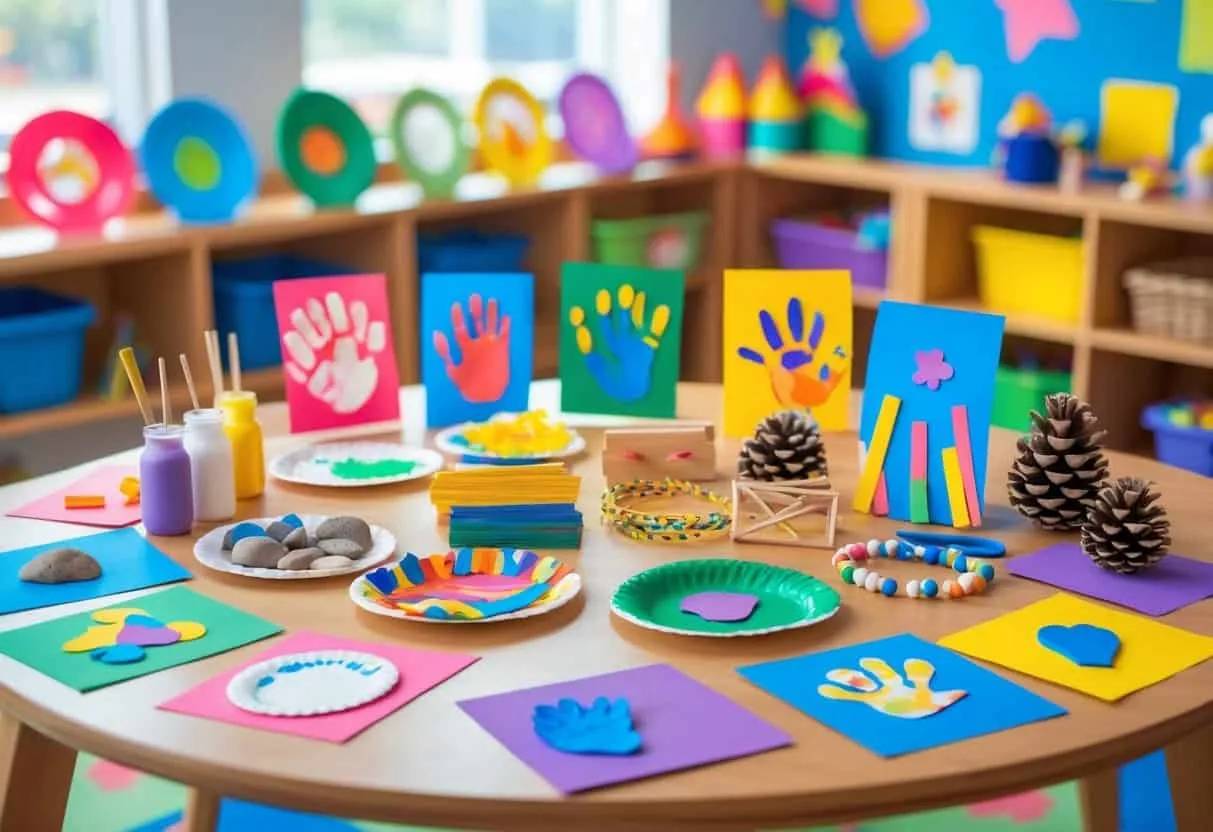
Create heartwarming handprint flower bouquets, a beautiful keepsake adorned with tiny prints.
These cheerful creations are perfect for gifting and add a touch of handmade joy to any space..
Materials Used:
- Paint
- Paper
- Glitter (optional)
Why You’ll Love This Project:
- Personal Keepsake
- Charming Design
- Giftable Art
Pro Tip: Use green paint for stems and leaves to complete the floral effect.
Learn How It’s Made: Blooming Handprint Flower Bouquets
25. Vibrant Tissue Paper Collages
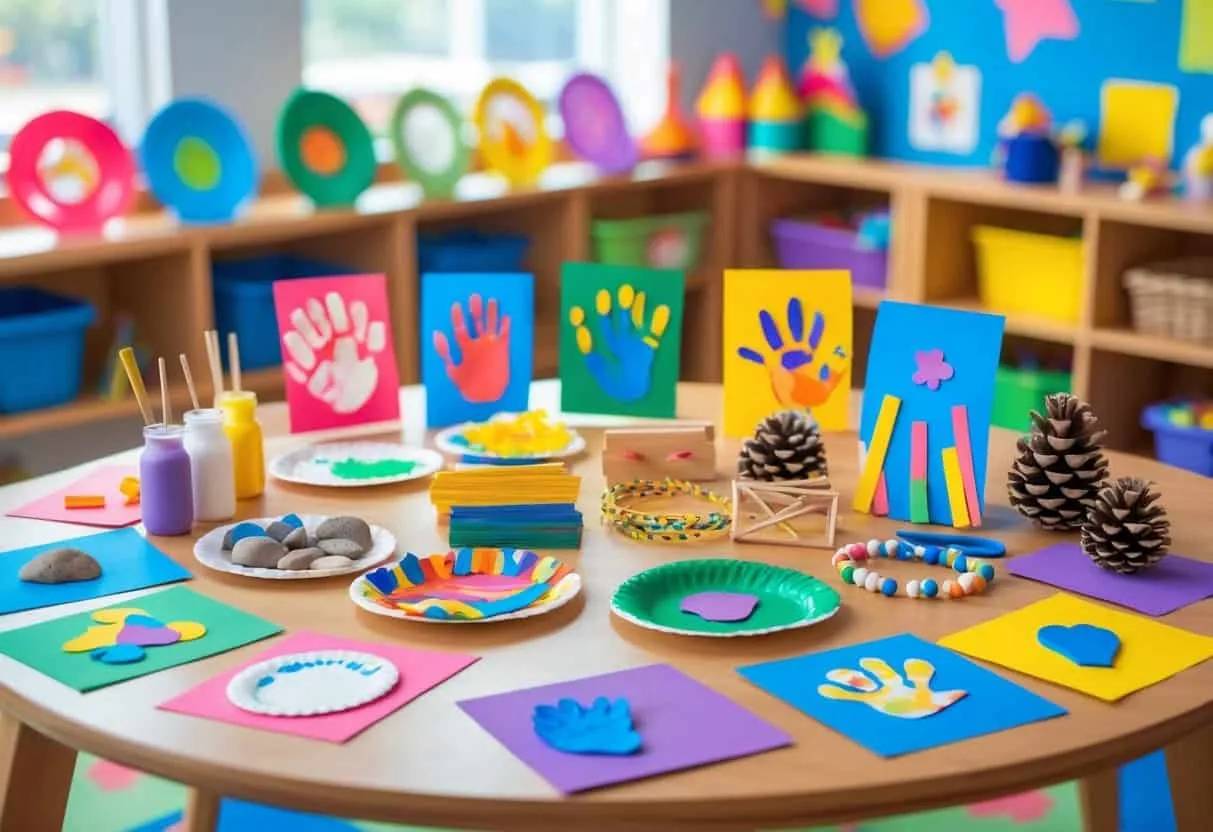
Dive into a world of color with vibrant tissue paper collages! These wonderfully messy art projects allow for boundless creativity, resulting in bright and beautiful patterns..
Materials Used:
- Tissue paper
- Glue
- Cardstock
Why You’ll Love This Project:
- Color Play
- Texture Mixing
- No Wrong Way
Pro Tip: Layer different shades of tissue paper for depth and visual interest.
Learn How It’s Made: Vibrant Tissue Paper Collages
26. Interactive Felt Board Stories
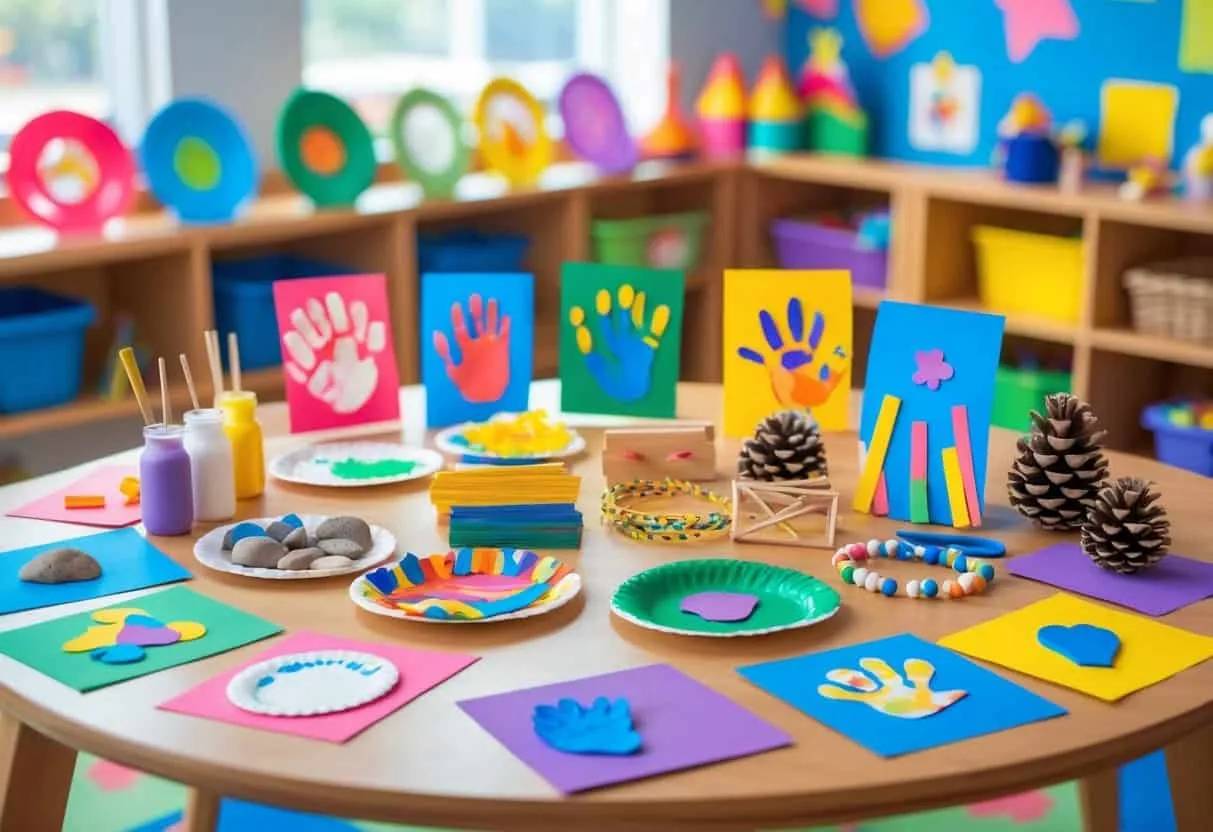
Bring stories to life with interactive felt board creations! Simple felt shapes become characters and settings, sparking imagination and collaborative storytelling..
Materials Used:
- Felt sheets
- Scissors
- Felt board
Why You’ll Love This Project:
- Storytelling Magic
- Imaginative Play
- Reusable Fun
Pro Tip: Create a variety of shapes that can be used in multiple story scenarios.
Learn How It’s Made: Interactive Felt Board Stories
27. Adorable Egg Carton Caterpillars
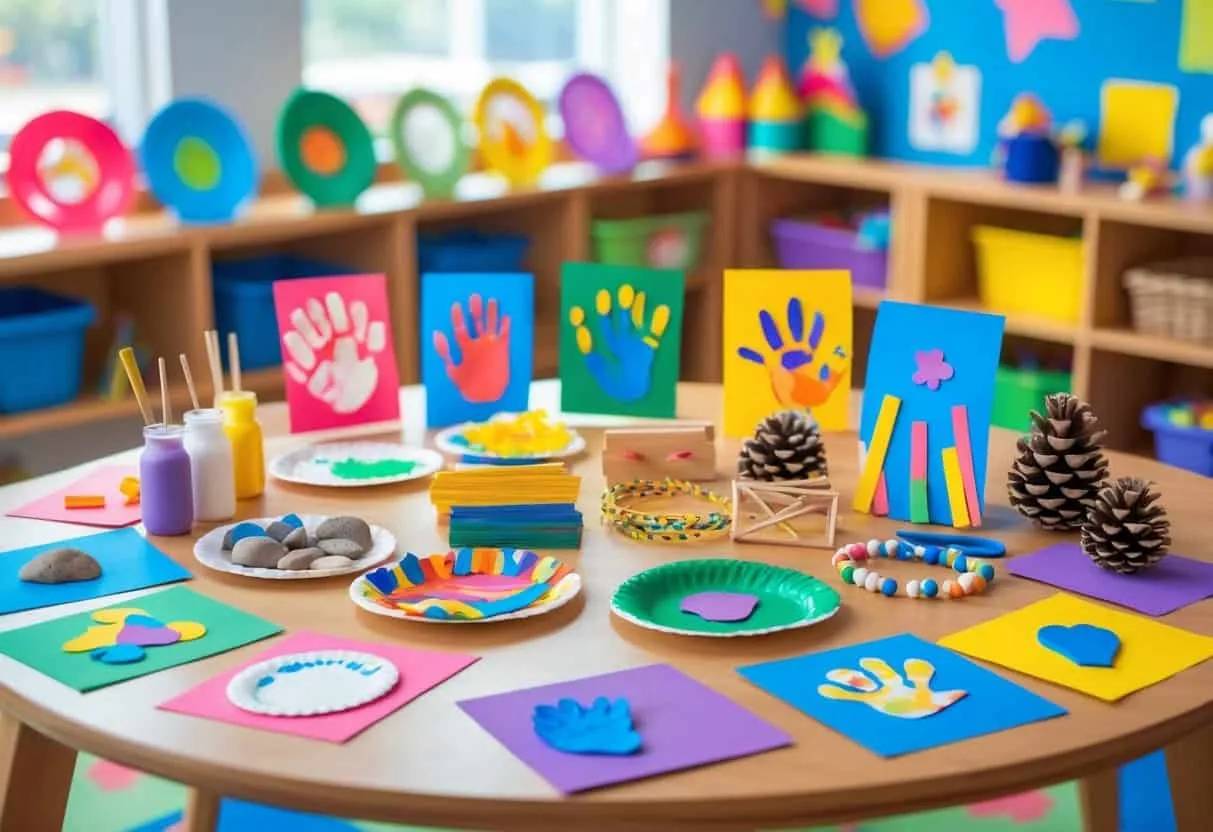
Transform recycled egg cartons into adorable, wiggly caterpillars! These eco-friendly crafts are a fun way to paint, decorate, and create a charming line of little creatures..
Materials Used:
- Egg cartons
- Paint
- Googly eyes
- Pipe cleaners
Why You’ll Love This Project:
- Recycled Craft
- Cute Characters
- Busy Hands
Pro Tip: Use pipe cleaners for fun, bouncy antennae.
Learn How It’s Made: Adorable Egg Carton Caterpillars
28. Nature Collage Art from Found Treasures
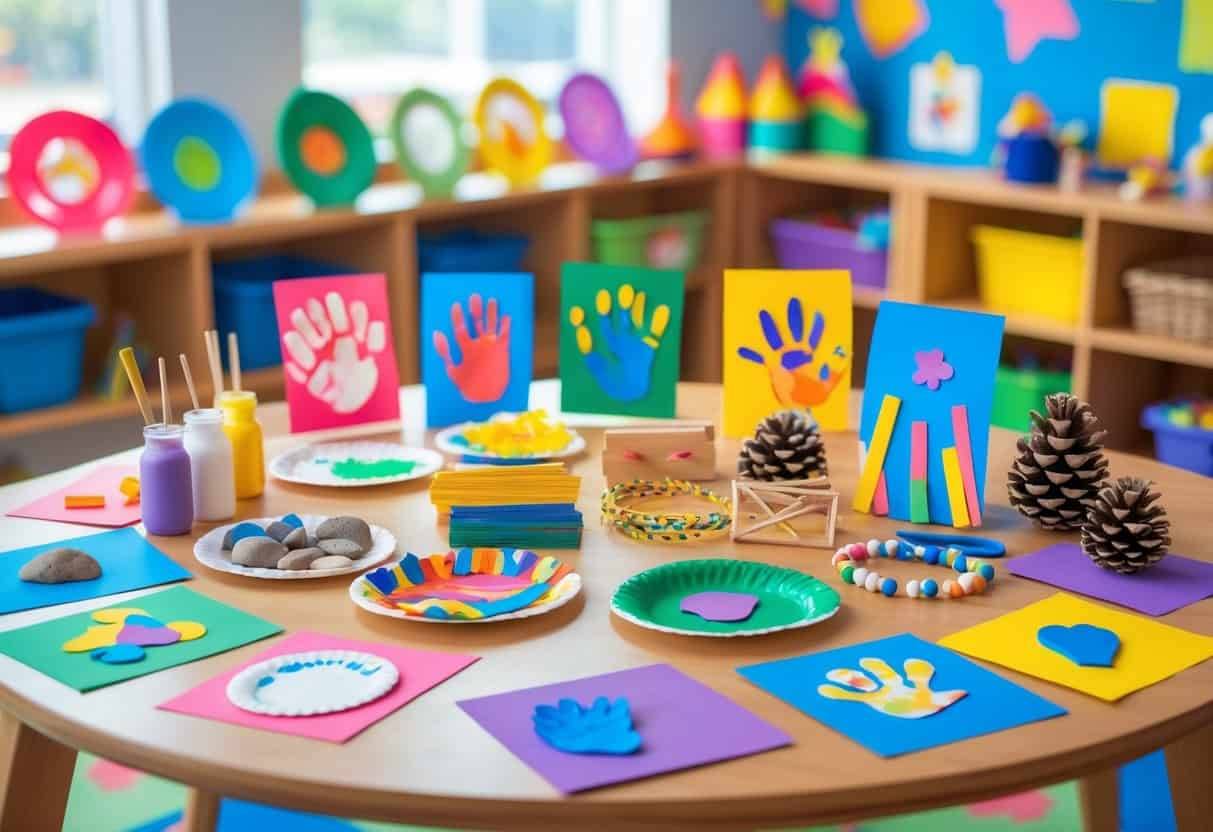
Embark on a treasure hunt for leaves, sticks, and flowers to create vibrant nature collages.
This art form brings the beauty of the outdoors right onto the page..
Materials Used:
- Collected nature items
- Glue
- Paper
Why You’ll Love This Project:
- Outdoor Inspiration
- Organic Textures
- Environmental Art
Pro Tip: Press leaves and flowers beforehand to preserve their color and shape.
Learn How It’s Made: Nature Collage Art from Found Treasures
29. Colorful Pasta Necklaces for Yummy Jewelry
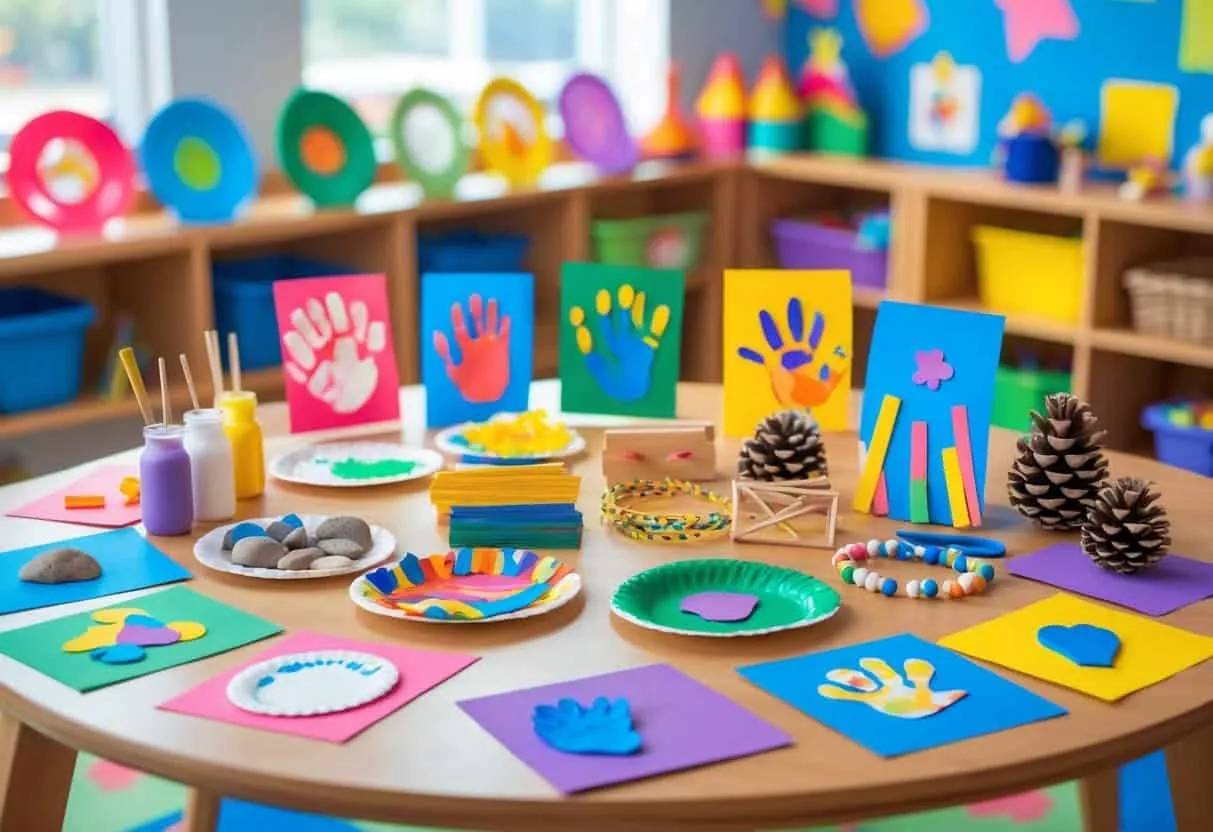
Craft cheerful pasta necklaces, a throwback craft that's fun and engaging.
Coloring and stringing pasta creates colorful jewelry that's almost too pretty to eat!.
Materials Used:
- Tube pasta
- Food coloring
- String
- Bag for shaking
Why You’ll Love This Project:
- Fine Motor Skills
- Vibrant Colors
- Playful Design
Pro Tip: Use food coloring to create rainbow patterns on the pasta.
Learn How It’s Made: Colorful Pasta Necklaces for Yummy Jewelry
30. Festive Salt Dough Ornaments with Painted Designs
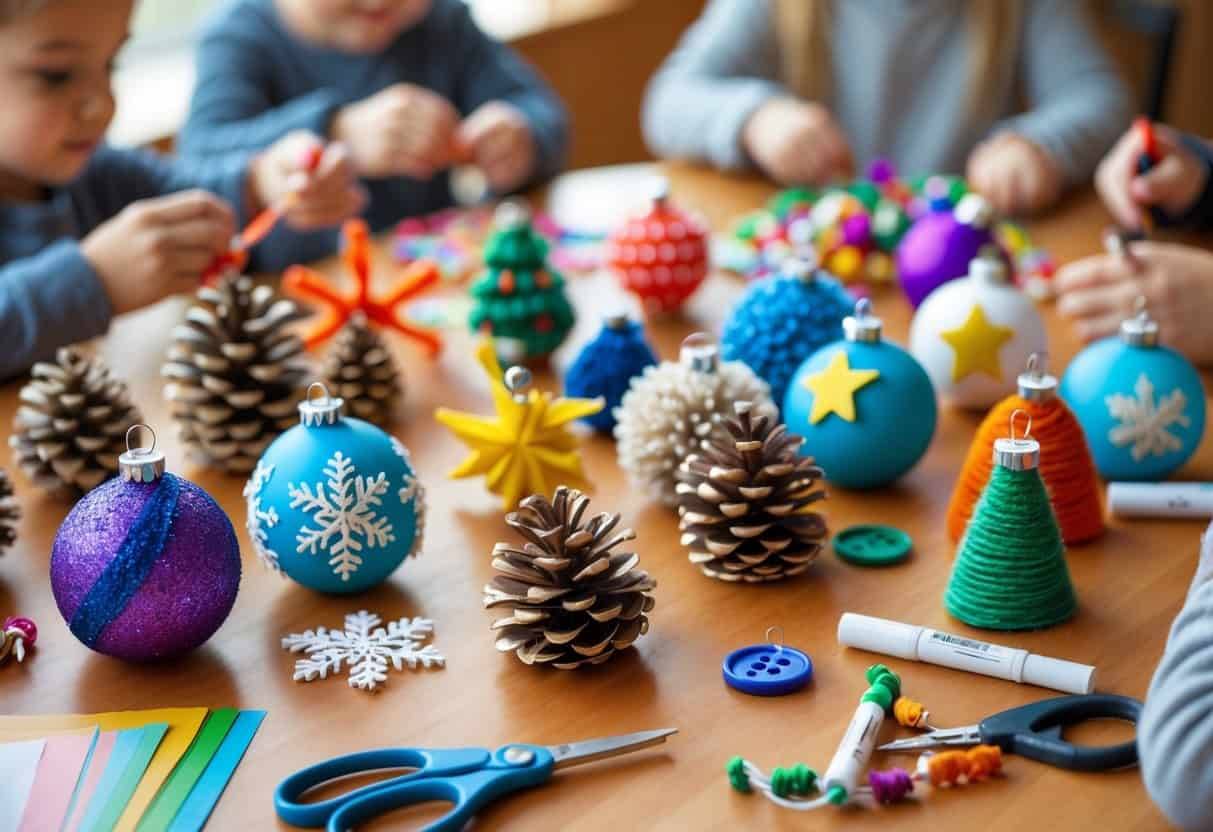
Create timeless salt dough ornaments, perfect for baking, painting, and decorating.
These classic crafts offer a delightful way to add personalized touches to holiday decor..
Materials Used:
- Flour
- Salt
- Water
- Paint
- Glitter
Why You’ll Love This Project:
- Classic Craft
- Customizable Designs
- Holiday Spirit
Pro Tip: Use cookie cutters in fun shapes to make each ornament unique.
Learn How It’s Made: Festive Salt Dough Ornaments with Painted Designs
31. Charming Popsicle Stick Train Ornaments
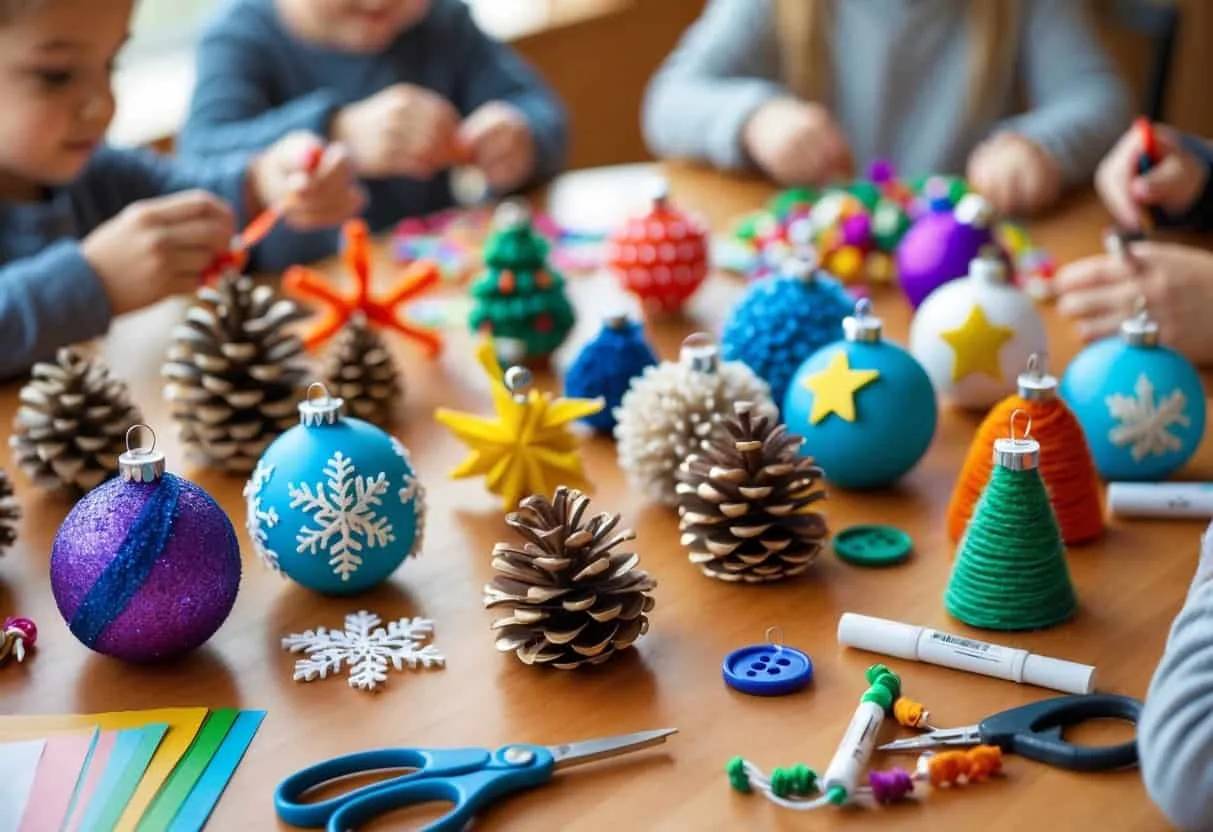
Build cheerful train ornaments from simple popsicle sticks! This easy craft brings a playful, handmade touch to any holiday tree..
Materials Used:
- Popsicle sticks
- Paint
- Glue
Why You’ll Love This Project:
- Whimsical Design
- Low-Mess Fun
- Handmade Charm
Pro Tip: Add a small photo in the train window for a personal touch.
Learn How It’s Made: Charming Popsicle Stick Train Ornaments
32. Adorable DIY Gnome Christmas Ornaments
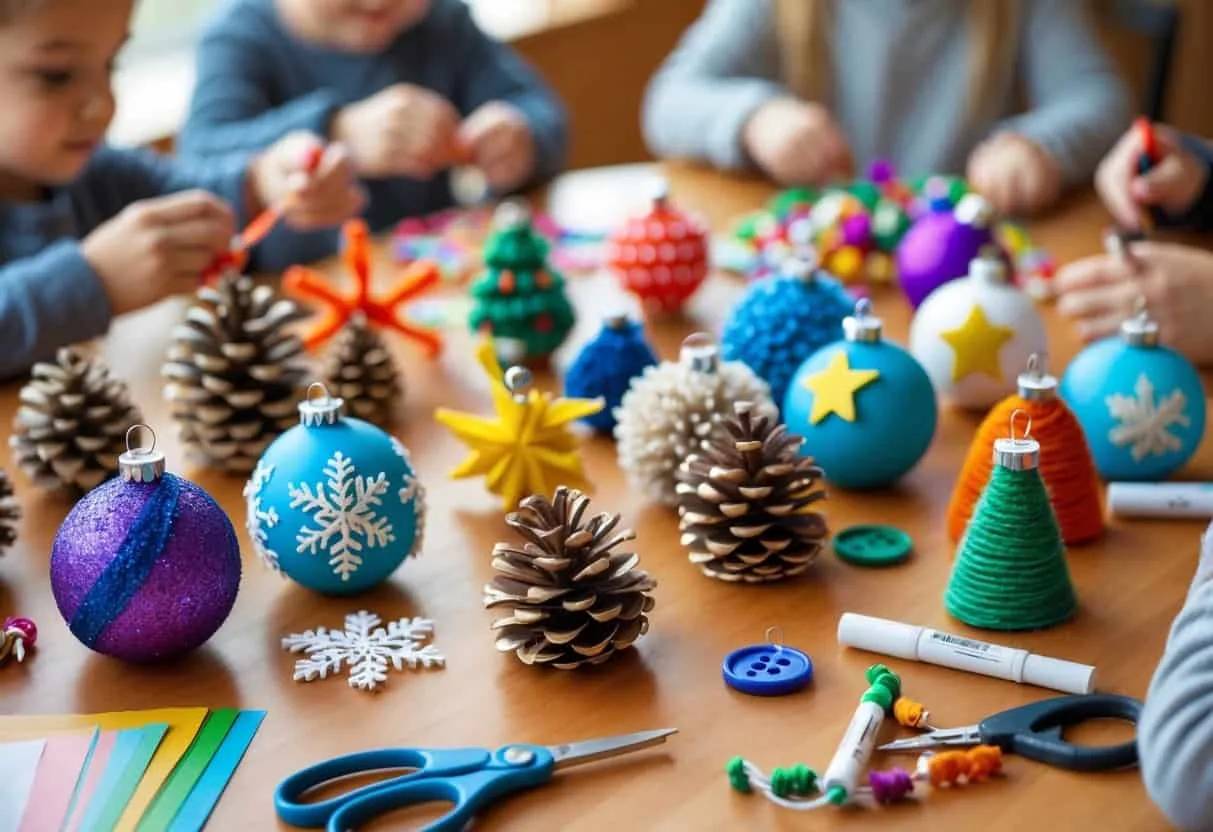
Craft cute little gnome ornaments with fluffy beards and stylish hats.
These quick and easy creations add a touch of whimsical personality to your holiday decor..
Materials Used:
- Felt or fabric scraps
- Wooden bead
- Hot glue gun
Why You’ll Love This Project:
- Festive Characters
- Quick to Make
- Giftable Ideas
Pro Tip: Let kids choose their own hat colors and embellishments for unique gnomes.
Learn How It’s Made: Adorable DIY Gnome Christmas Ornaments
33. Sparkling Glitter Glue Foam Ornaments
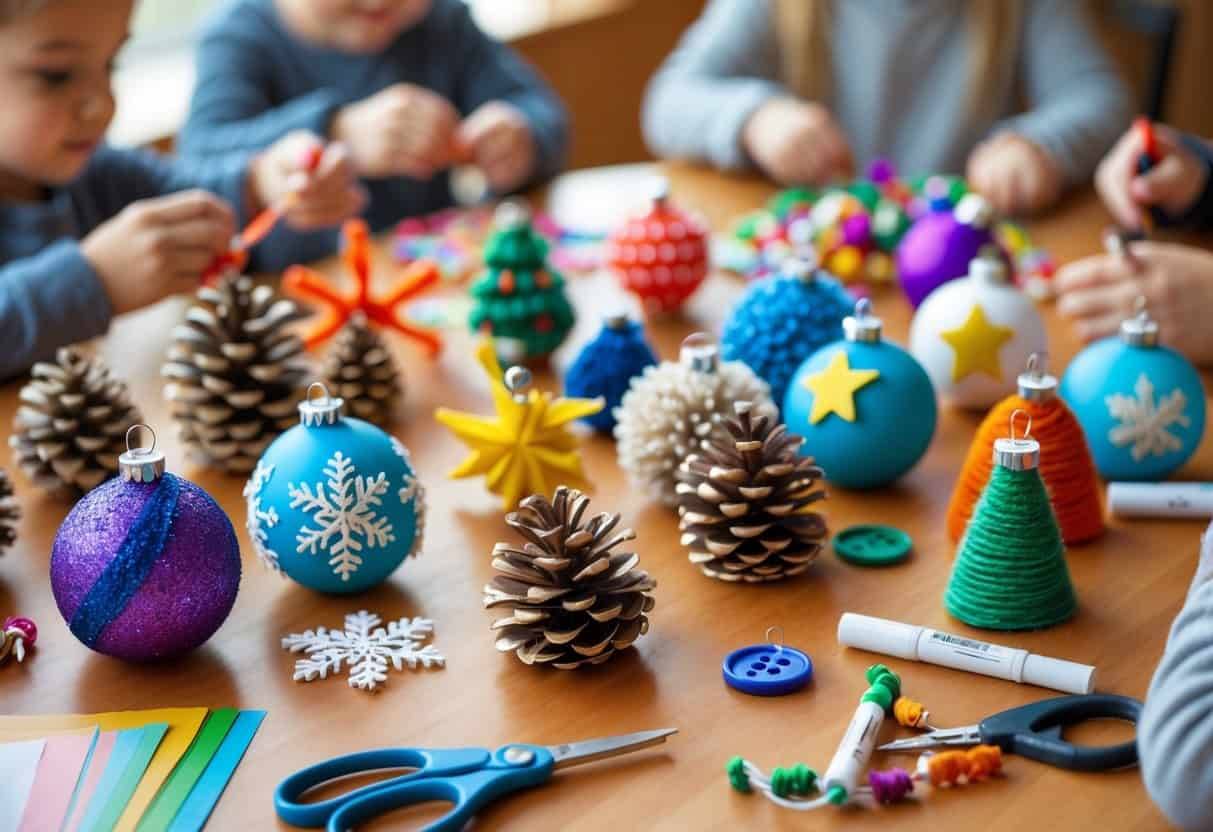
Add dazzling sparkle without the mess using glitter glue foam ornaments.
Cut foam into festive shapes and let the glitter glue create shimmering designs that stay put..
Materials Used:
- Foam sheets
- Glitter glue
- Scissors
- Ribbon
Why You’ll Love This Project:
- Sparkly Appeal
- Mess-Free Glitter
- Simple Shapes
Pro Tip: Use a hole punch to easily add ribbon for hanging.
Learn How It’s Made: Sparkling Glitter Glue Foam Ornaments
34. Magical Color Scratch Ornaments
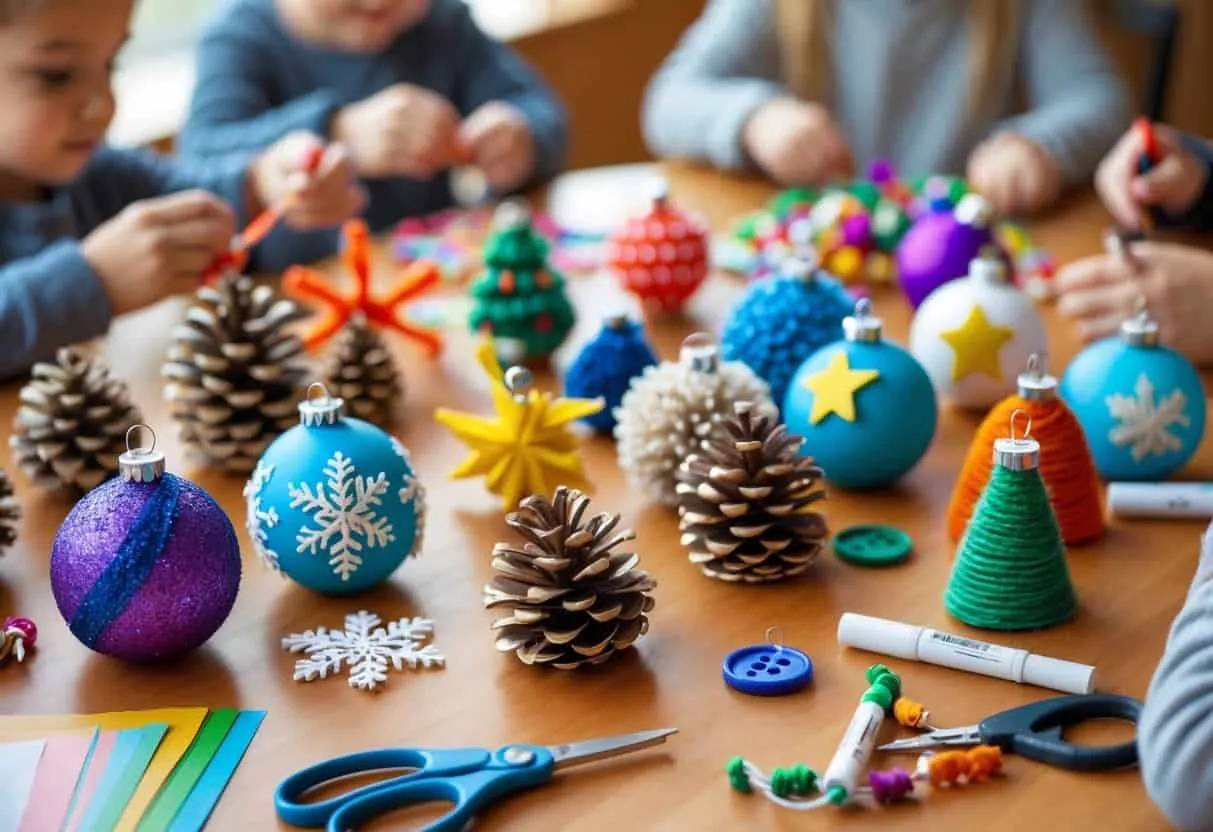
Reveal vibrant rainbow designs with magical color scratch ornaments.
Simply scratch away the black coating to uncover brilliant swirls and patterns..
Materials Used:
- Scratch ornaments
- Wooden stylus
Why You’ll Love This Project:
- Surprise Reveal
- No Mess Craft
- Vibrant Colors
Pro Tip: Encourage doodling names or simple drawings for personalized ornaments.
Learn How It’s Made: Magical Color Scratch Ornaments
35. Craft Stick Snowflakes with Gemstone Sparkle
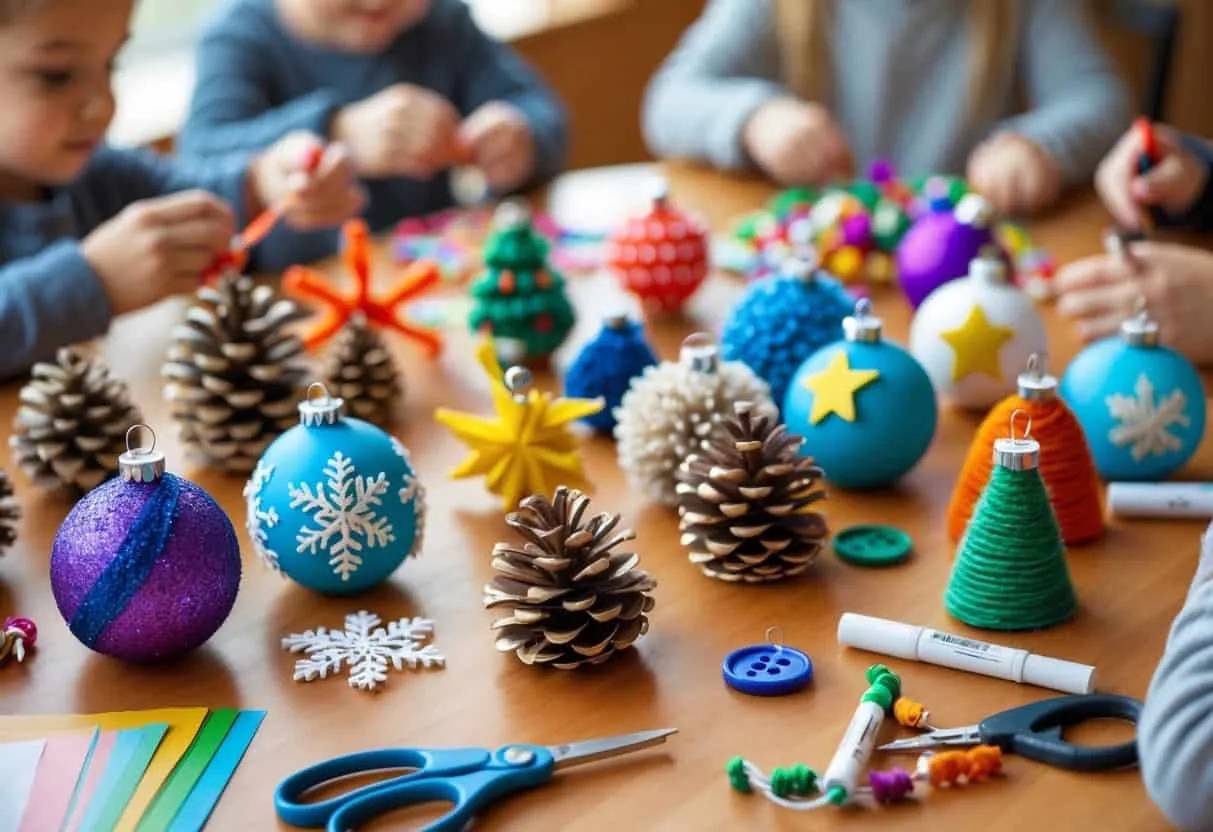
Create enchanting snowflakes from craft sticks, painted in frosty hues and adorned with shimmering gems.
These wintery wonders bring a touch of the season indoors..
Materials Used:
- Popsicle sticks
- Glue
- Paint
- Gems or sequins
Why You’ll Love This Project:
- Wintery Theme
- Decorative Embellishments
- Handcrafted Beauty
Pro Tip: Mix and match decorative elements like sequins and buttons for unique snowflakes.
Learn How It’s Made: Craft Stick Snowflakes with Gemstone Sparkle
36. Shimmering Homemade Painted Stars
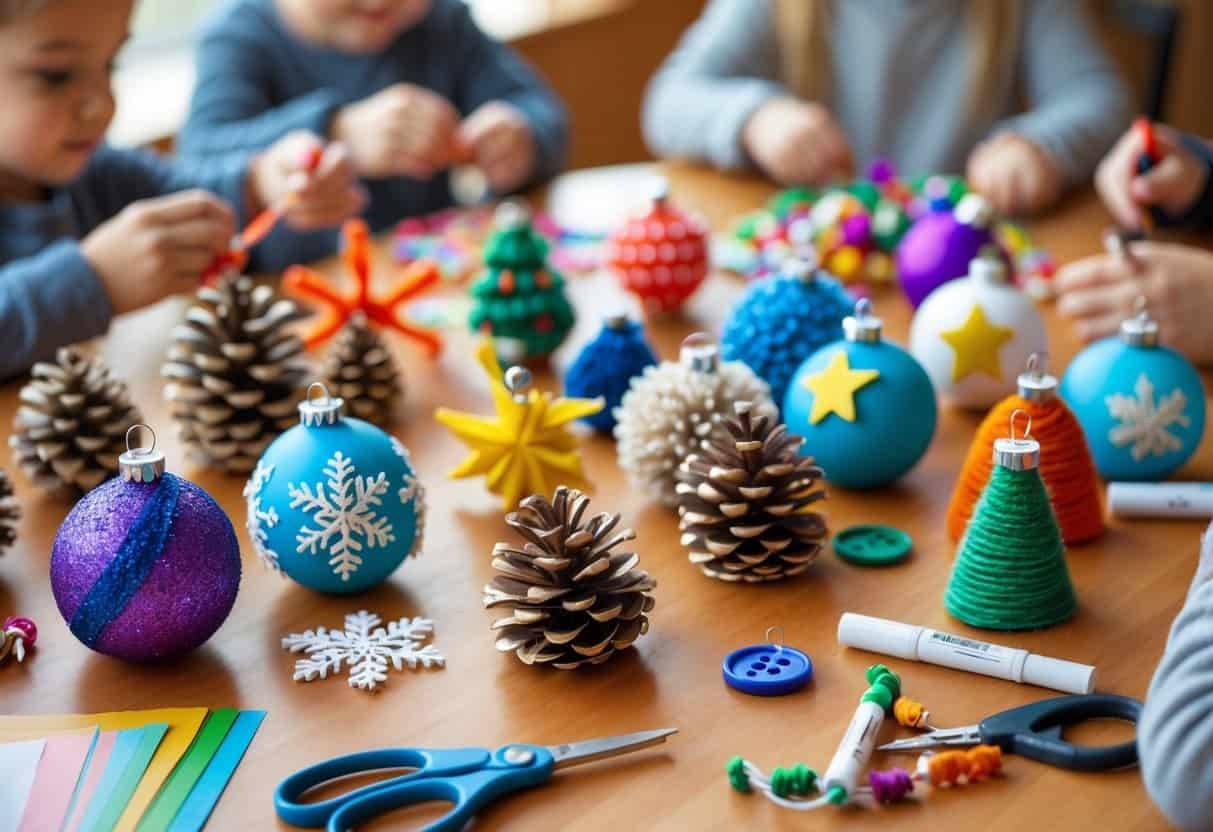
Design dazzling stars with homemade paint and a touch of glitter spray.
These radiant creations catch the light beautifully, adding a magical glow..
Materials Used:
- Cardboard or wooden stars
- Paint
- Glitter spray
Why You’ll Love This Project:
- Radiant Finish
- Artistic Expression
- Light-Catching Design
Pro Tip: Use a glitter spray for an even, shimmering finish.
Learn How It’s Made: Shimmering Homemade Painted Stars
37. Soft Felt Christmas Tree Decorations
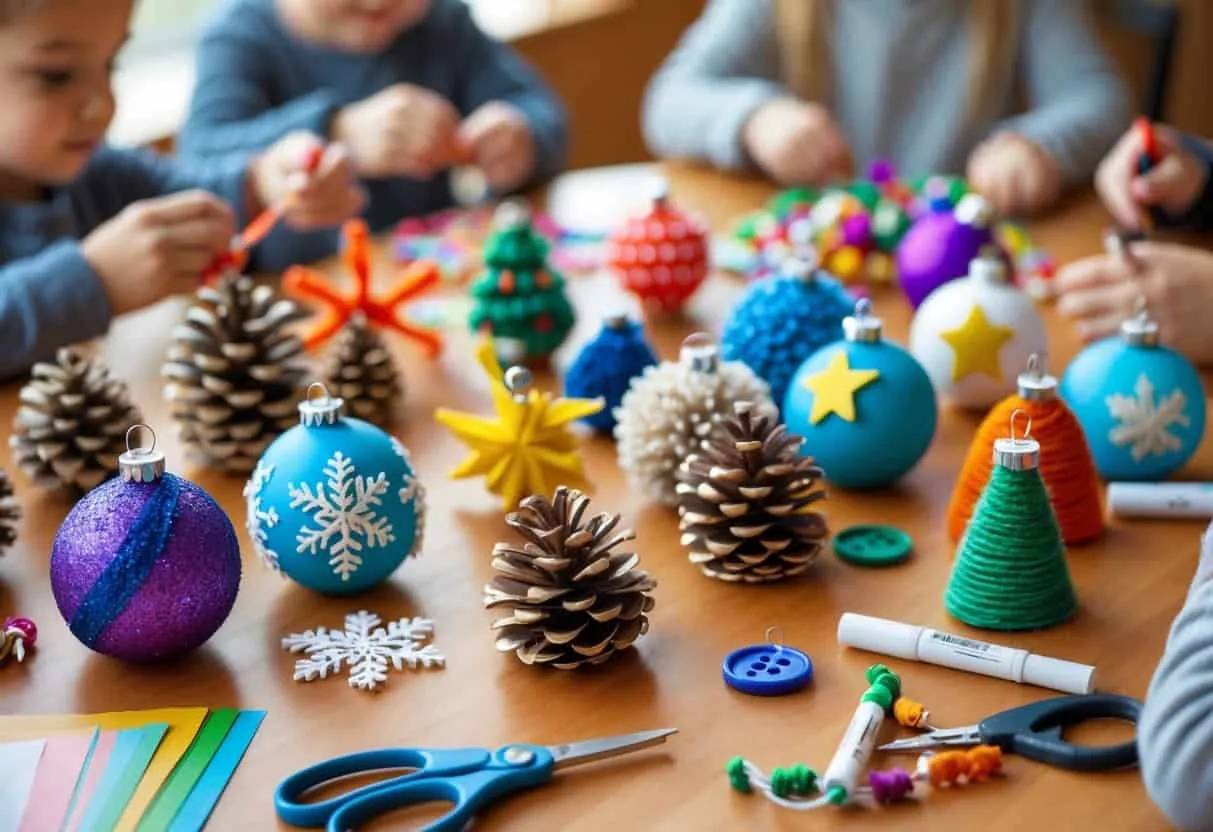
Create cozy and squishy felt Christmas tree decorations.
These easy-to-sew ornaments are perfect for little hands to help assemble, adding a soft, handmade touch..
Materials Used:
- Felt
- Chunky yarn or embroidery thread
- Stuffing
- Buttons (optional)
Why You’ll Love This Project:
- Soft & Squishy
- Hand-Stitched Charm
- Cozy Vibe
Pro Tip: Stuff with a little fiberfill to give the ornaments a delightful puffiness.
Learn How It’s Made: Soft Felt Christmas Tree Decorations
38. Fluffy Pom-Pom Santas for Festive Fun
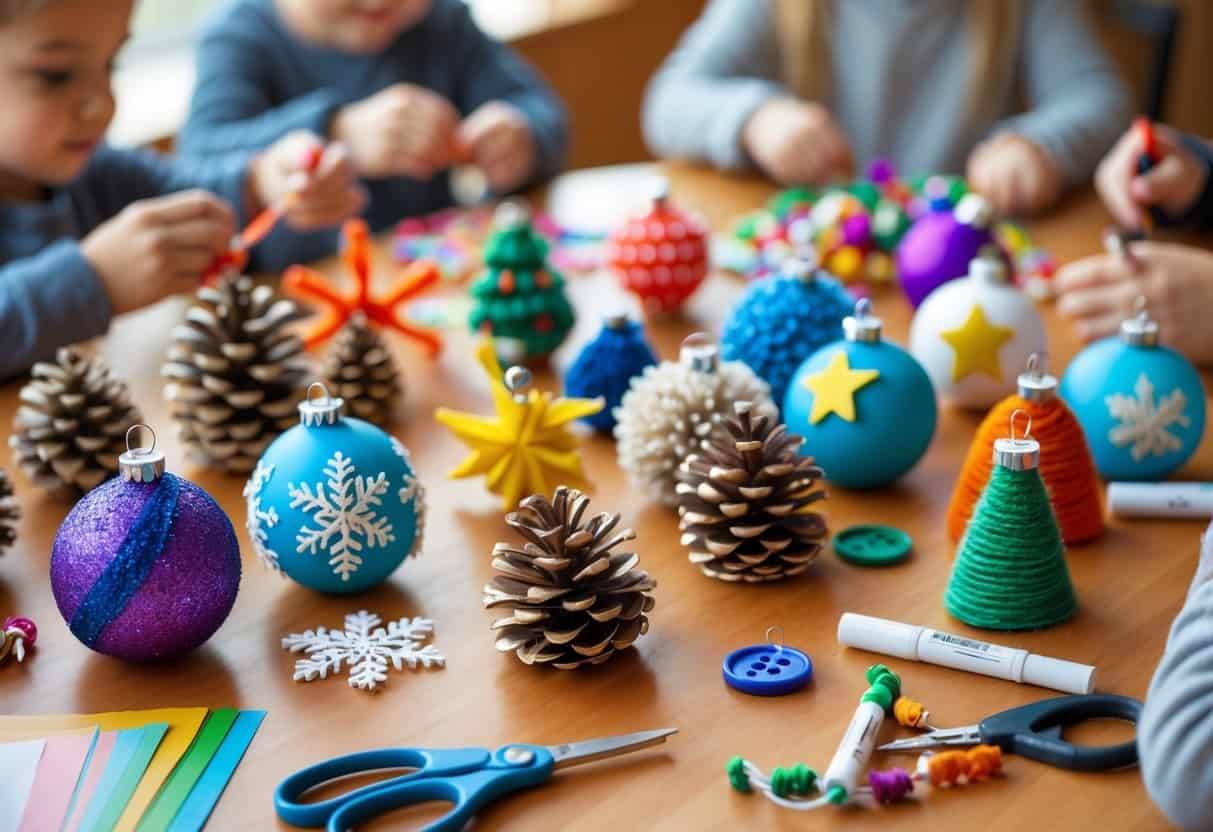
Craft irresistibly cute pom-pom Santas, adding a fuzzy, festive touch to your tree.
These quick and charming ornaments are a delight to make and display..
Materials Used:
- Red and white yarn
- Felt scraps
- Googly eyes
Why You’ll Love This Project:
- Fuzzy & Cute
- Easy to Create
- Festive Character
Pro Tip: Use scraps of felt for tiny hats and belts to complete the Santa look.
Learn How It’s Made: Fluffy Pom-Pom Santas for Festive Fun
39. Recycled Paper Plate Wreath Ornaments
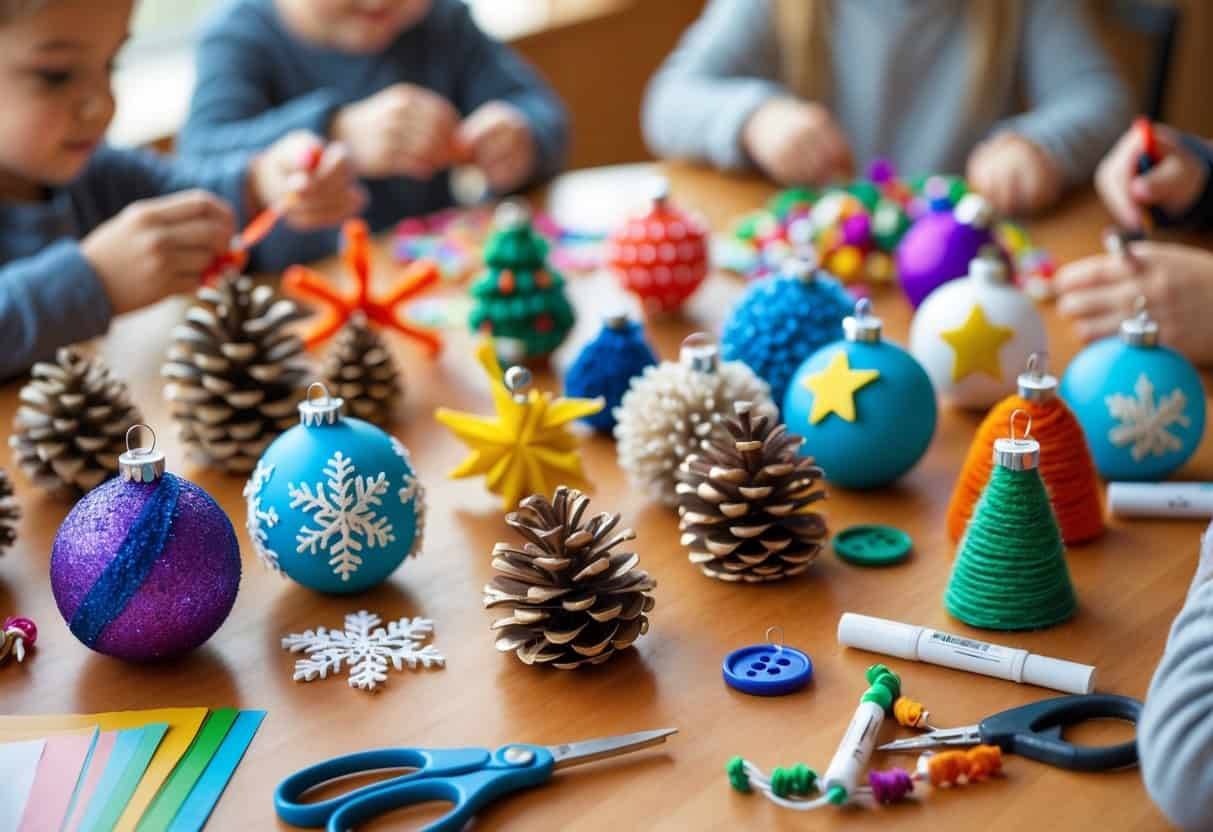
Transform simple paper plates into charming mini wreaths! This eco-friendly craft is a fun way to recycle and create festive decorations..
Materials Used:
- Paper plates
- Paint
- Ribbon
- Decorations (pom-poms, etc.)
Why You’ll Love This Project:
- Recycled Materials
- Decorative Wreaths
- Festive Accents
Pro Tip: Decorate with pom-poms, glitter, or small paper scraps for a festive flair.
Learn How It’s Made: Recycled Paper Plate Wreath Ornaments
40. Frosty Salt Shaker Snowman Ornaments
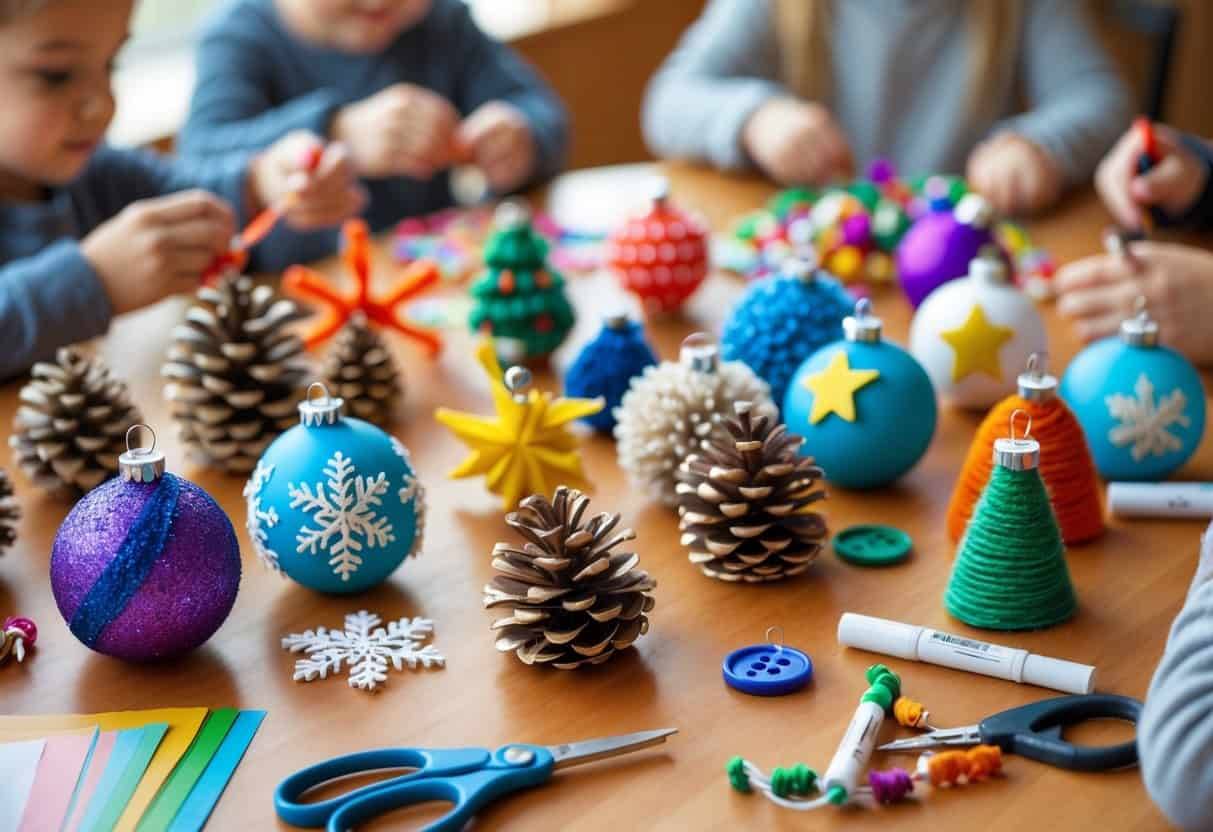
Give old salt shakers a new life as frosty snowman ornaments.
A little paint and sparkle turn these repurposed items into adorable holiday friends..
Materials Used:
- Clean salt shakers
- Paint
- Buttons
- Scrap fabric
Why You’ll Love This Project:
- Repurposed Craft
- Cute Snowmen
- Unique Decorations
Pro Tip: Use fabric scraps for tiny scarves or hats to add character.
Learn How It’s Made: Frosty Salt Shaker Snowman Ornaments
41. Festive Fingerprint Christmas Tree with Clay Lights
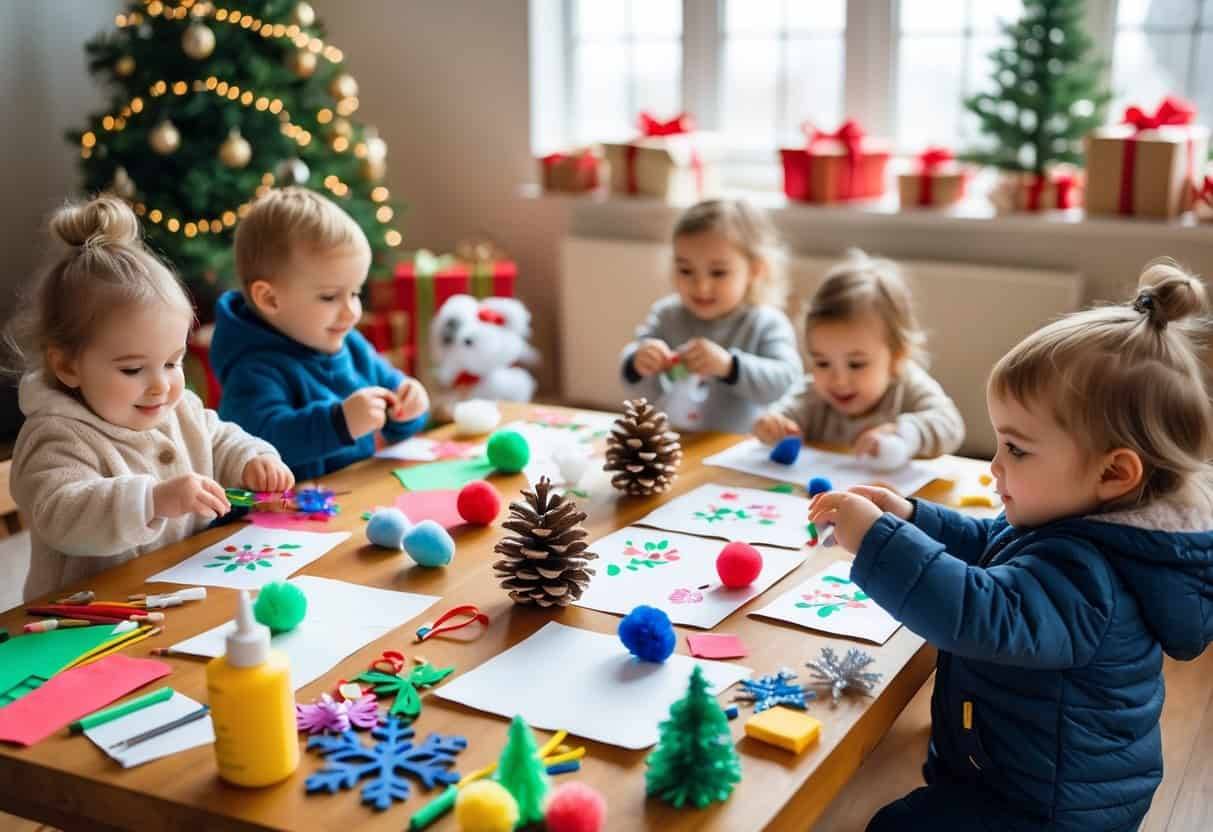
Create a delightful keepsake by making a fingerprint Christmas tree adorned with air-dry clay lights.
Tiny fingers leave unique imprints, forming a charming and personal holiday decoration..
Materials Used:
- Air-dry clay
- Paint
- Paper
- Tree cookie cutter
Why You’ll Love This Project:
- Tiny Handprints
- Personal Keepsake
- Holiday Theme
Pro Tip: Add a small marker dot for the 'string' connecting the lights.
Learn How It’s Made: Festive Fingerprint Christmas Tree with Clay Lights
42. Whimsical Toilet Paper Roll Christmas Trees
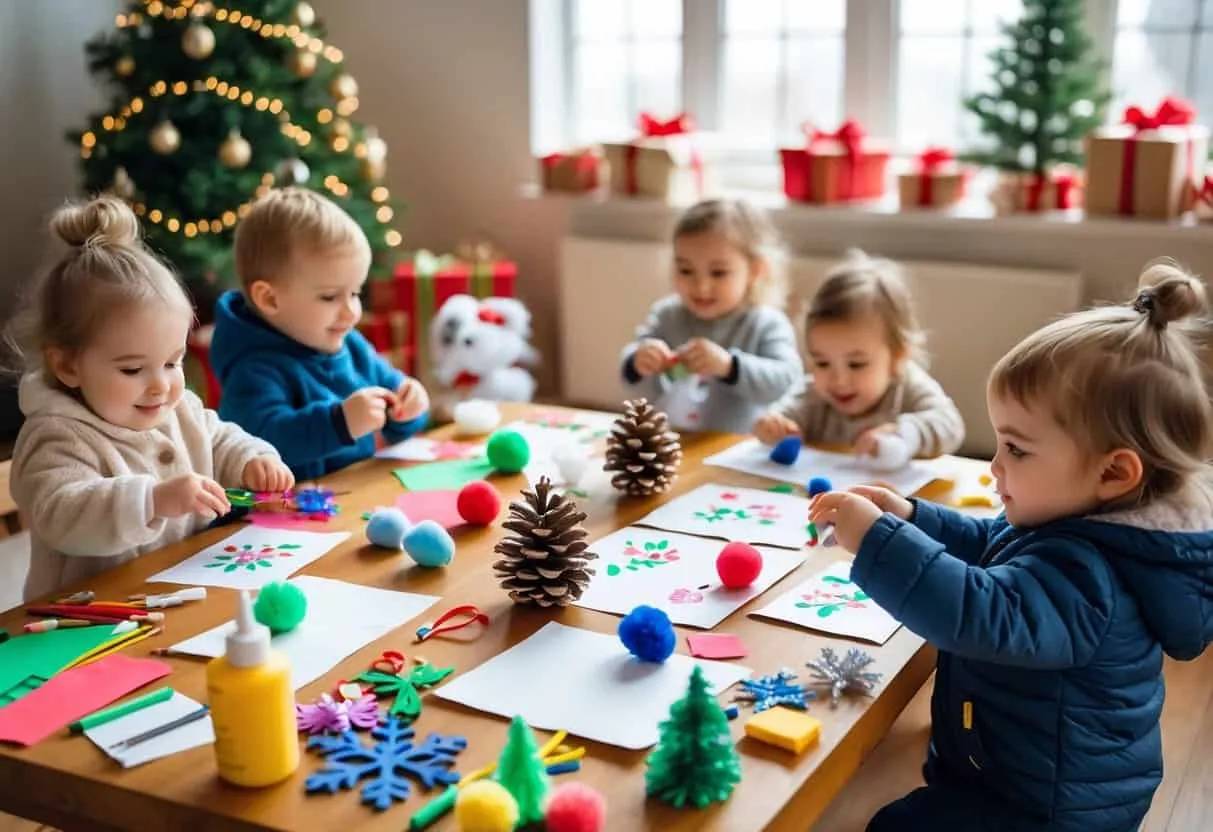
Transform everyday toilet paper rolls into enchanting Christmas trees decorated with buttons and glitter.
These charming creations add a touch of festive wonder to any display..
Materials Used:
- Toilet paper rolls
- Paint
- Buttons
- Glitter
Why You’ll Love This Project:
- Recycled Materials
- Playful Decorations
- Festive Fun
Pro Tip: Use a variety of button shapes and colors for festive 'ornaments'.
Learn How It’s Made: Whimsical Toilet Paper Roll Christmas Trees
43. Colorful Tissue Paper Ornaments on Paper Plate Bases
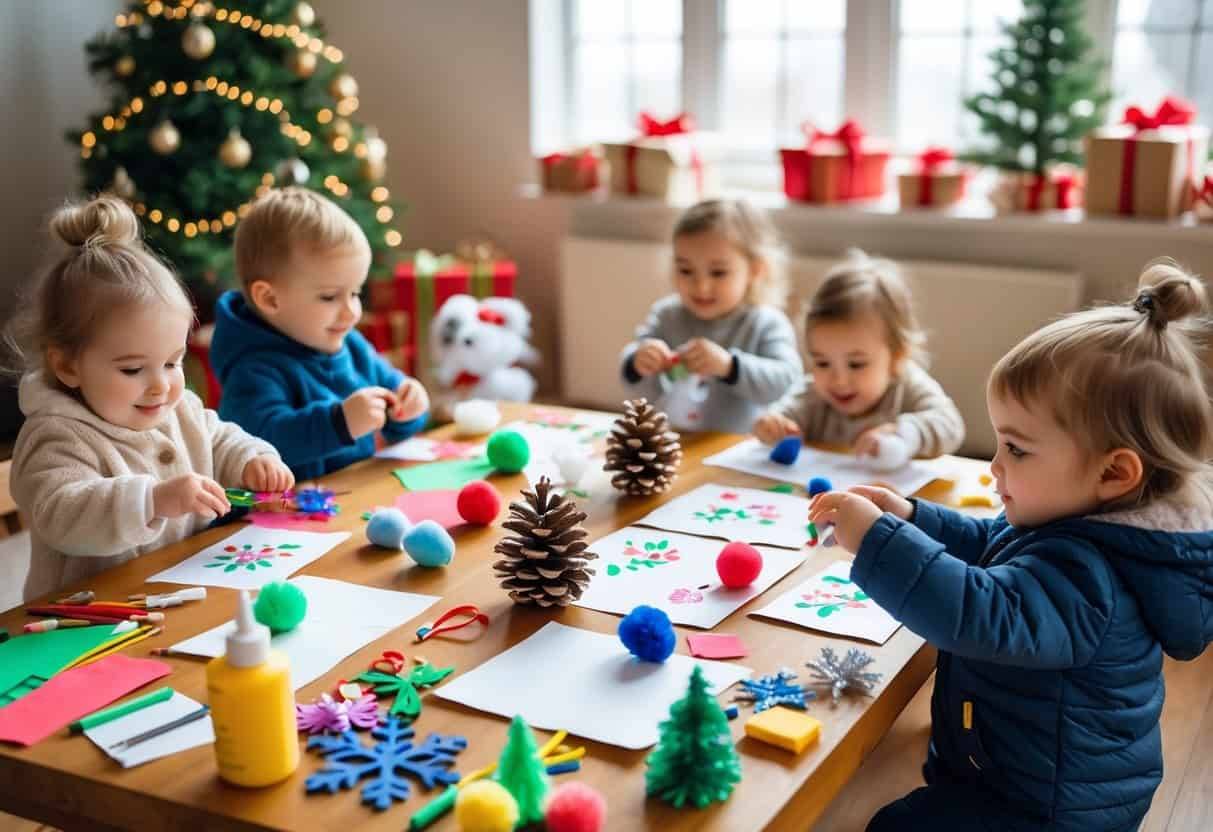
Create vibrant tissue paper ornaments on sturdy paper plate bases.
This joyful craft uses torn and scrunched tissue paper to build colorful, festive designs..
Materials Used:
- Paper plates
- Tissue paper
- Glue
Why You’ll Love This Project:
- Bright Colors
- Textural Interest
- Easy to Create
Pro Tip: Layering different tissue paper colors adds depth and visual interest.
Learn How It’s Made: Colorful Tissue Paper Ornaments on Paper Plate Bases
44. Sweet Marshmallow Snowman Sticks
Assemble delightful marshmallow snowman sticks for a tasty and fun holiday craft.
These quick creations combine yummy treats with festive decoration..
Materials Used:
- Jumbo marshmallows
- Chocolate
- Lollipop sticks
- Pretzel sticks
Why You’ll Love This Project:
- Edible Craft
- Festive Design
- Quick & Easy
Pro Tip: Use pretzel sticks for cute, twig-like arms.
Learn How It’s Made: Sweet Marshmallow Snowman Sticks
45. Festive Washi Tape Baubles on Cardstock
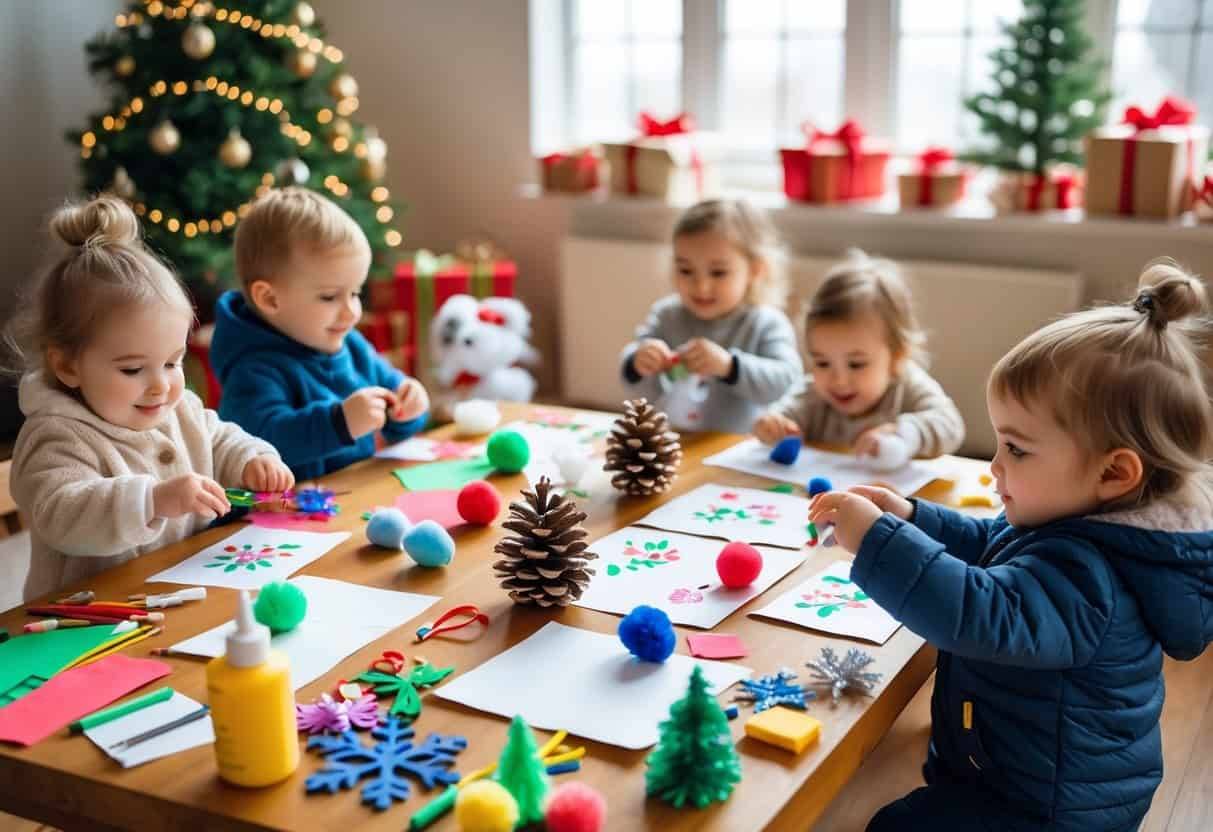
Adorn cardstock baubles with colorful washi tape for a quick and stylish holiday craft.
This easy technique results in beautifully decorated festive ornaments..
Materials Used:
- Cardstock
- Washi tape
- Scissors
Why You’ll Love This Project:
- Geometric Patterns
- Low-Mess Technique
- Modern Aesthetic
Pro Tip: Cut the washi tape into small strips for more intricate patterns.
Learn How It’s Made: Festive Washi Tape Baubles on Cardstock
46. Charming Handprint Reindeer with Pom-Pom Noses
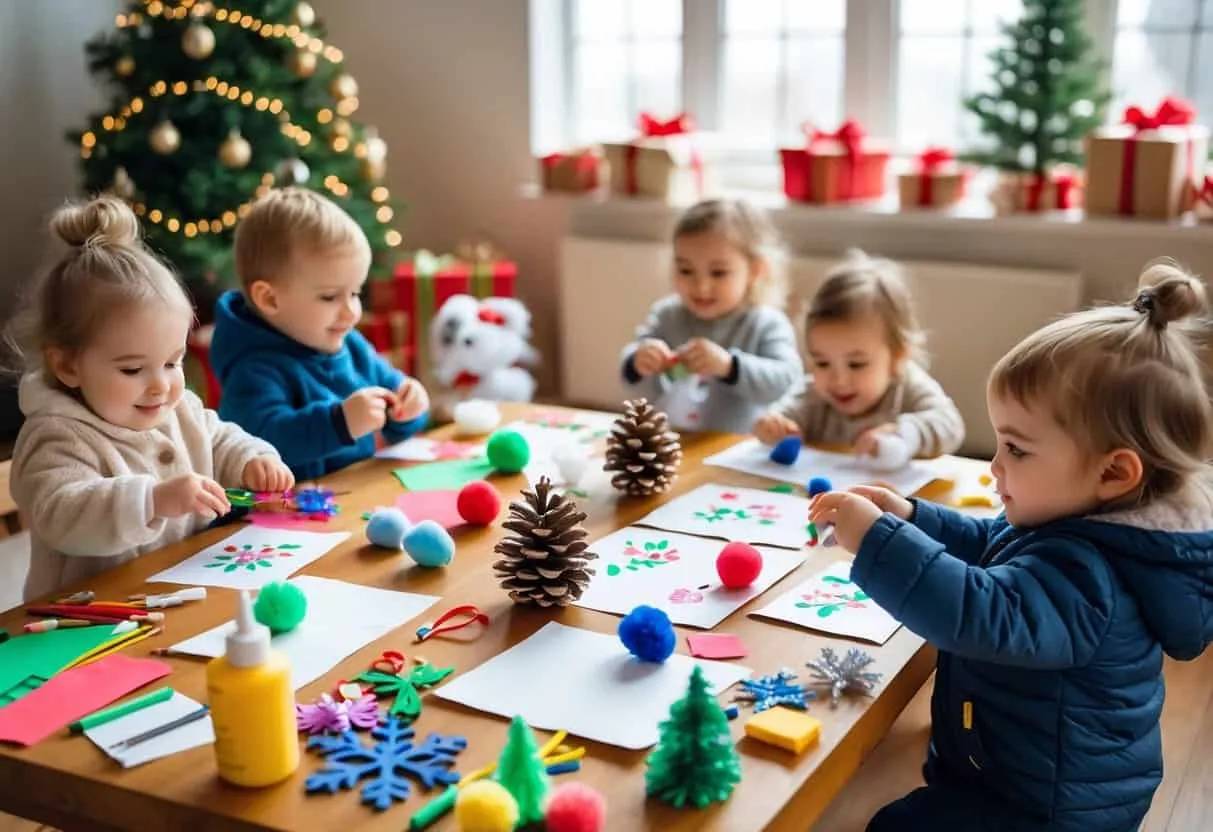
Create adorable handprint reindeer, personalized with tiny hand shapes and cheerful pom-pom noses.
These sweet creatures add a touch of handmade charm to holiday displays..
Materials Used:
- Brown paint
- Paper
- Googly eyes
- Red pom-poms
Why You’ll Love This Project:
- Personalized Art
- Festive Characters
- Cute Details
Pro Tip: Use googly eyes to give each reindeer a distinct personality.
Learn How It’s Made: Charming Handprint Reindeer with Pom-Pom Noses
47. Paper Snow Globes with Toddler Paint Splatters
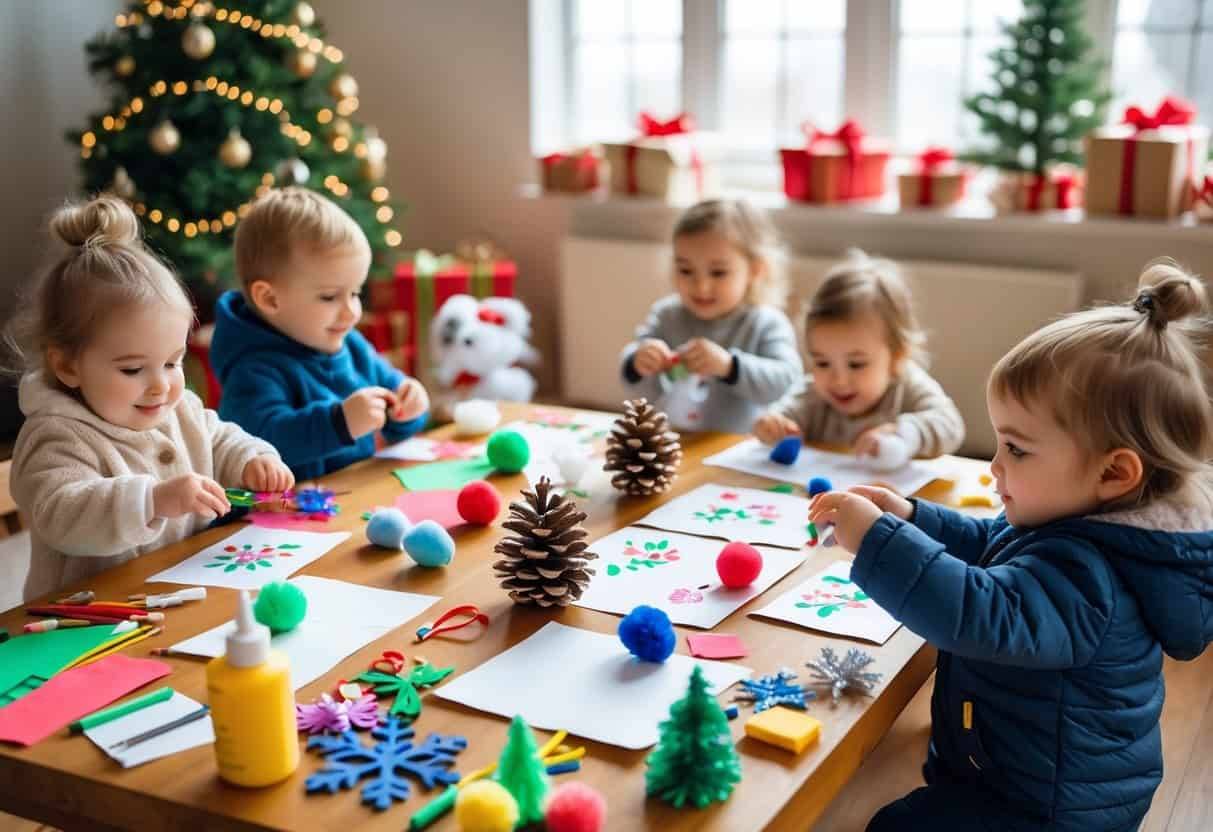
Craft magical paper snow globes decorated with vibrant toddler paint splatters.
These cheerful creations bring a touch of winter wonderland to any surface..
Materials Used:
- Paper
- Toddler-friendly paint
- Glue
- Glitter
Why You’ll Love This Project:
- Abstract Art
- Winter Theme
- Fun Splatters
Pro Tip: Add glitter to the paint for a shimmering 'snowy' effect.
Learn How It’s Made: Paper Snow Globes with Toddler Paint Splatters
48. Jolly Paper Plate Santa Beard Craft
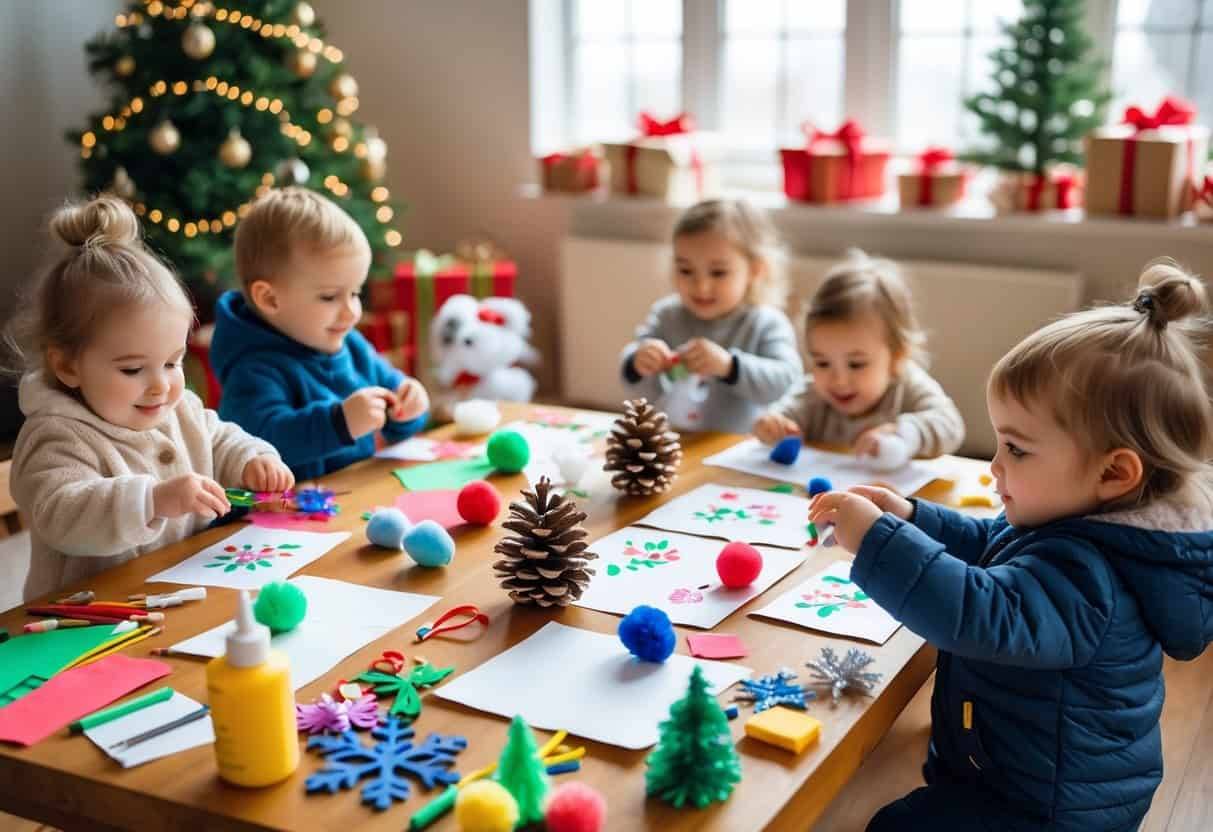
Create a jolly Santa beard from a paper plate, letting little ones thread and trim yarn for a fluffy, festive look.
This craft is perfect for practicing fine motor skills..
Materials Used:
- Paper plates
- Yarn
- Scissors
- Hole punch
Why You’ll Love This Project:
- Fine Motor Practice
- Jolly Santa
- Fuzzy Texture
Pro Tip: Use a fork to fluff the yarn for an extra-full beard effect.
Learn How It’s Made: Jolly Paper Plate Santa Beard Craft
49. Delicate Doily Snowflake Decorations
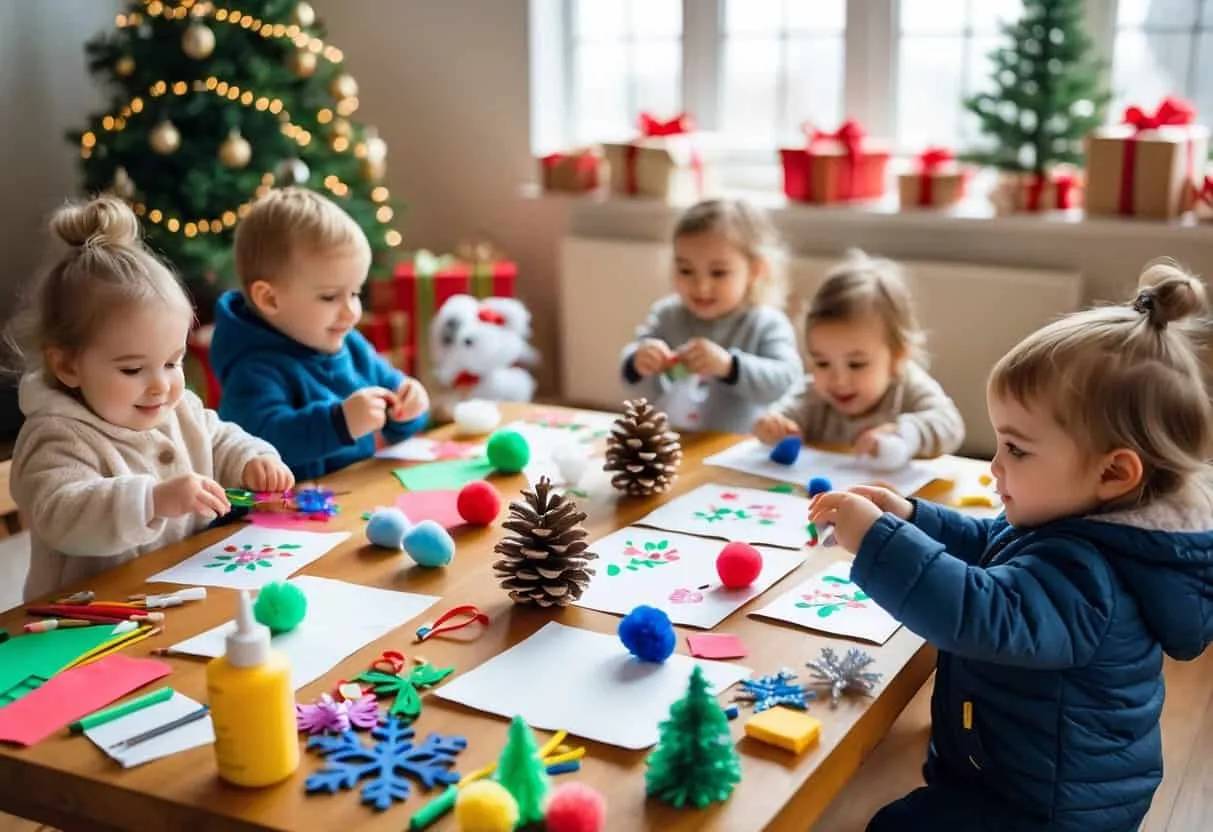
Transform delicate paper doilies into intricate snowflake decorations.
These lacy creations add a touch of wintery elegance with simple snipping..
Materials Used:
- Paper doilies
- Scissors
Why You’ll Love This Project:
- Intricate Designs
- Wintery Elegance
- Simple Transformation
Pro Tip: Fold the doily multiple times before cutting for symmetrical patterns.
Learn How It’s Made: Delicate Doily Snowflake Decorations
50. Colorful Fingerprint Garland
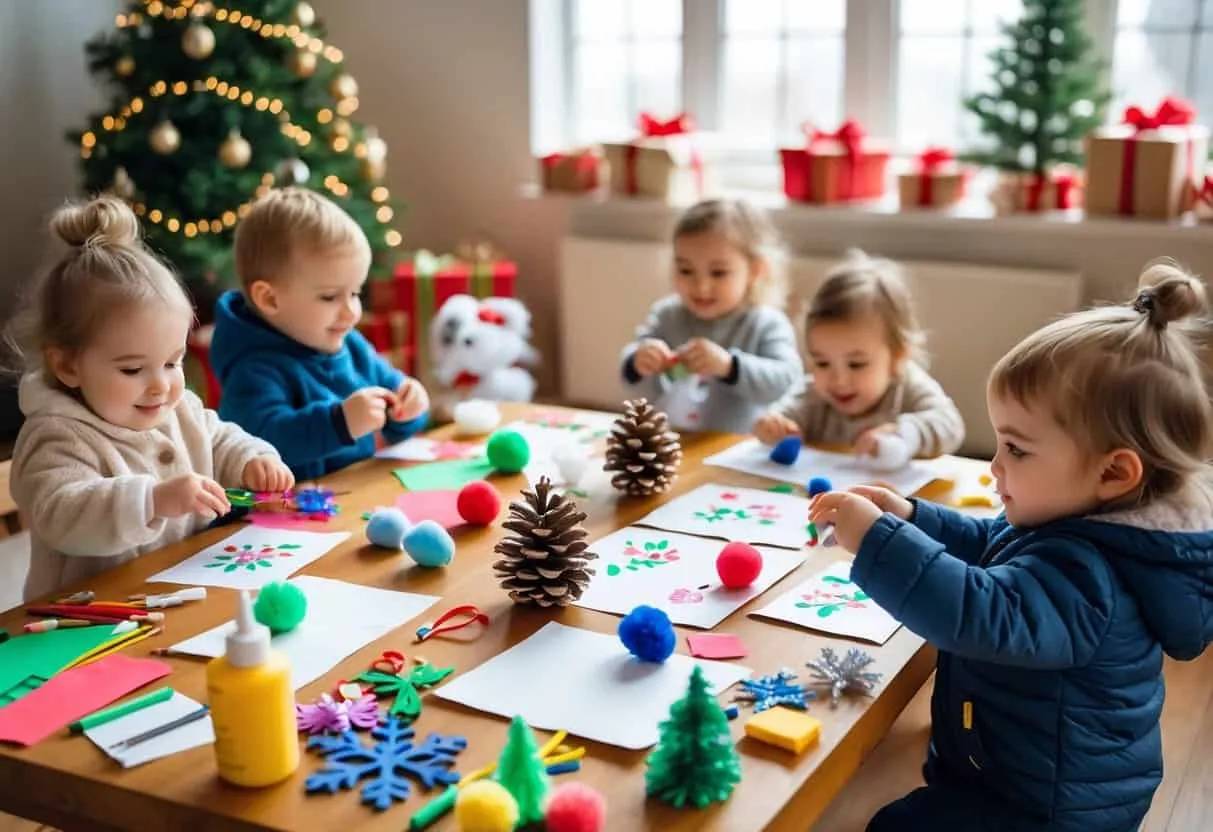
Create a cheerful, multi-colored fingerprint garland, turning each tiny print into a festive decoration.
Stringing these blobs of color together makes for adorably wonky holiday swag..
Materials Used:
- Paint
- Strips of paper
- String
Why You’ll Love This Project:
- Vibrant & Fun
- Personalized Garland
- Toddler Art
Pro Tip: Use bright, contrasting colors for a playful garland.
Learn How It’s Made: Colorful Fingerprint Garland
51. Glittery Pinecone Christmas Trees
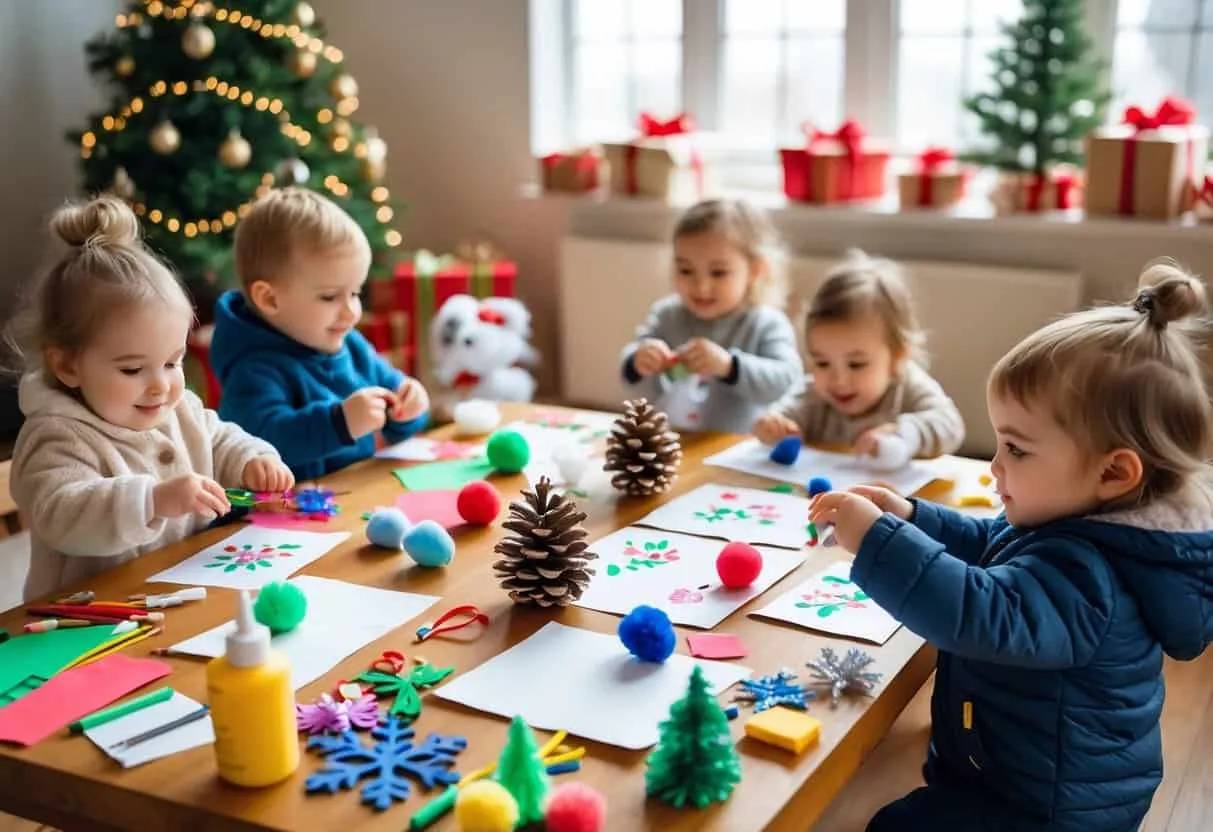
Transform humble pinecones into sparkling mini Christmas trees, adorned with glitter and colorful pom-poms.
These charming decorations add a touch of natural whimsy..
Materials Used:
- Pinecones
- Paint
- Glitter
- Pom-poms
Why You’ll Love This Project:
- Natural Elements
- Sparkling Finish
- Miniature Decor
Pro Tip: Spray paint the pinecones green before adding glitter for a fuller tree effect.
Learn How It’s Made: Glittery Pinecone Christmas Trees
52. Festive Paint Chip Christmas Cards
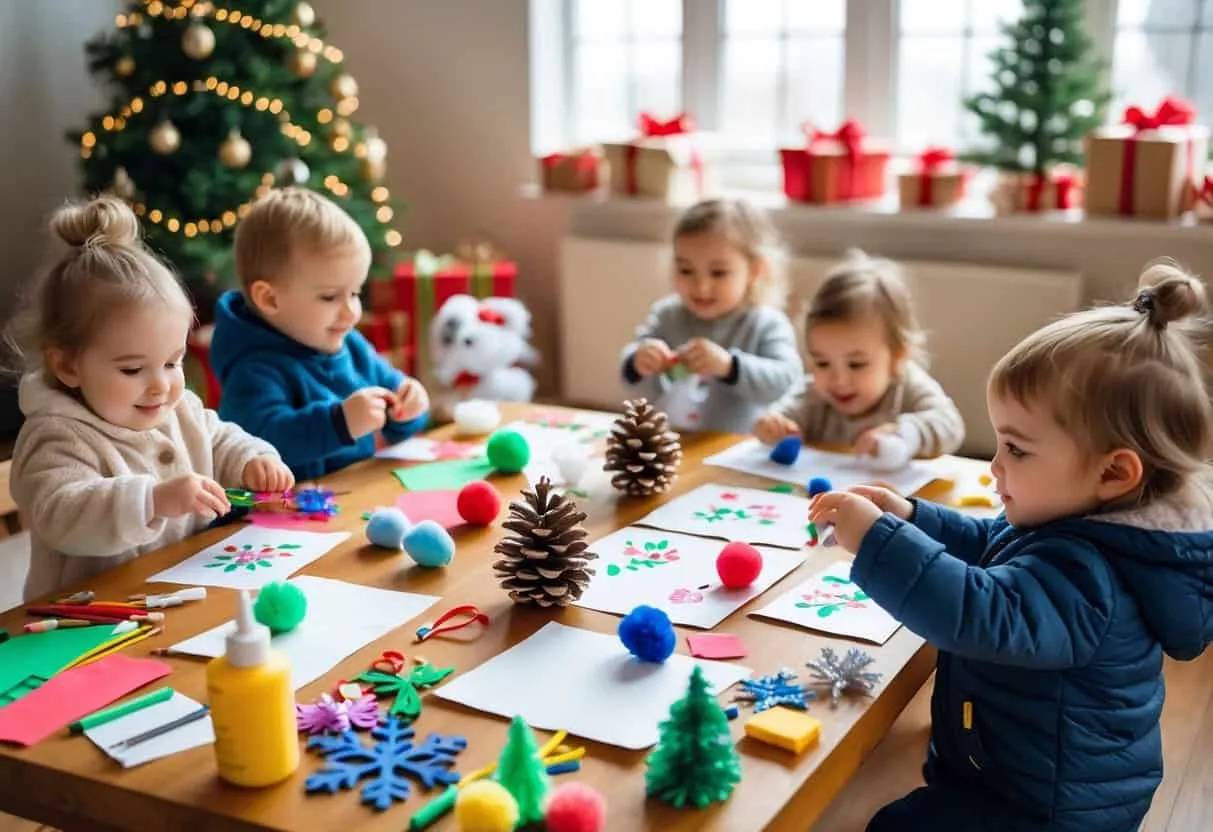
Craft adorable Christmas cards using free paint chips from the hardware store.
Cutting and arranging these colorful chips into tree shapes creates cheerful, unique greetings..
Materials Used:
- Paint chips
- Cardstock
- Scissors
- Glue
Why You’ll Love This Project:
- Upcycled Materials
- Simple Tree Design
- Handmade Cards
Pro Tip: Layer different shades of paint chips for a more dimensional tree design.
Learn How It’s Made: Festive Paint Chip Christmas Cards
53. Beaded and Button Wreaths
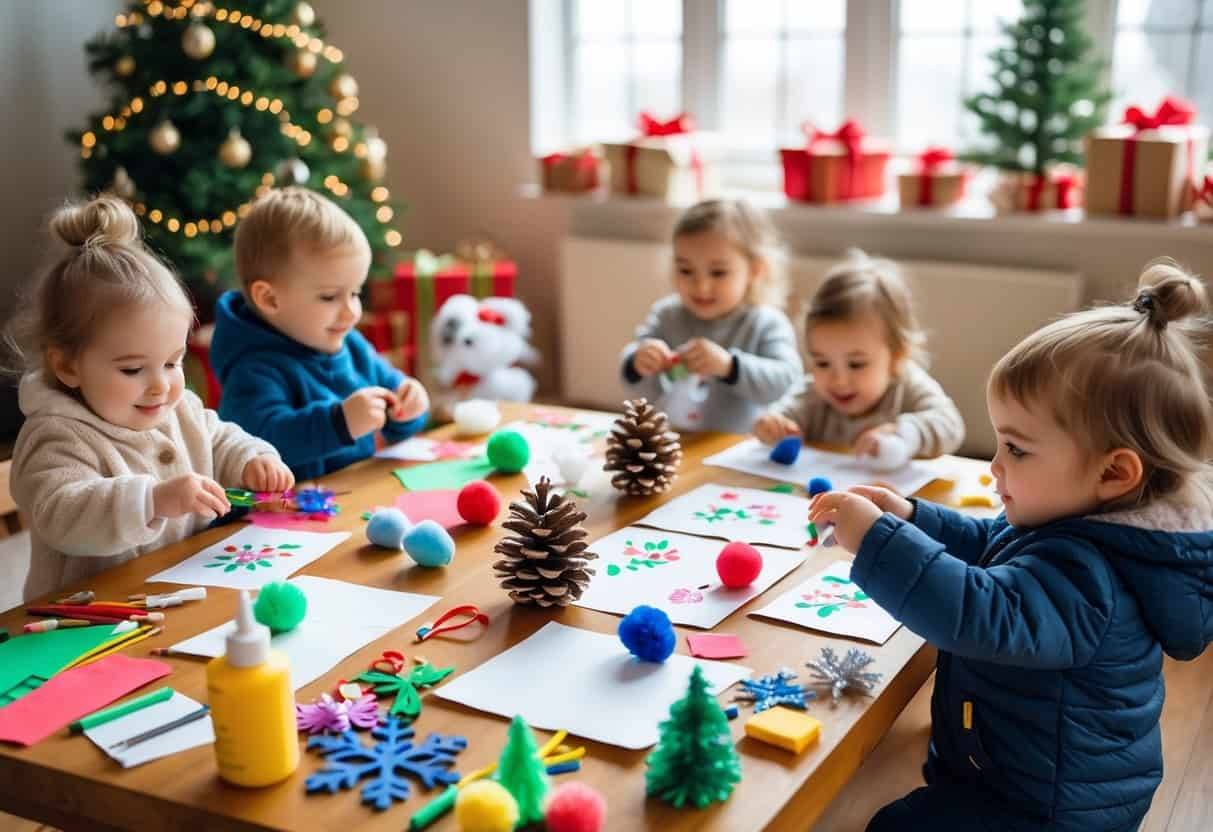
Create charming mini wreaths by stringing colorful buttons and beads onto pipe cleaners.
This delightful craft is perfect for little hands and fine motor skill development..
Materials Used:
- Buttons
- Beads
- Pipe cleaners
Why You’ll Love This Project:
- Fine Motor Skills
- Colorful Patterns
- Mini Wreaths
Pro Tip: Shape the beaded pipe cleaner into a perfect circle for a neat wreath.
Learn How It’s Made: Beaded and Button Wreaths
54. Cotton Ball Snowmen
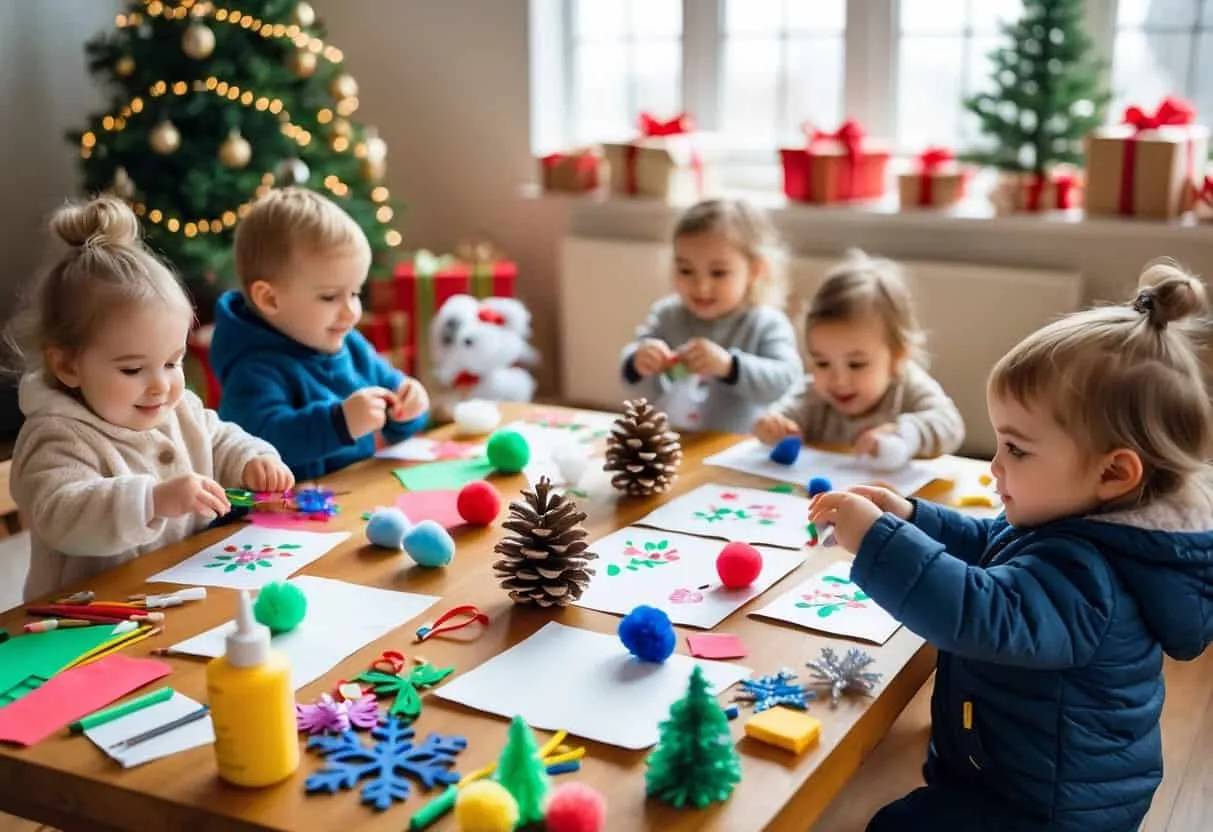
Bring wintery fun indoors by crafting adorable snowmen from fluffy cotton balls.
These simple, soft creations are perfect for little artists of all ages..
Materials Used:
- Cotton balls
- Glue
- Paper
- Markers
Why You’ll Love This Project:
- Soft Texture
- Simple Design
- Winter Theme
Pro Tip: Add paper hats or scarves for extra character and flair.
Learn How It’s Made: Cotton Ball Snowmen
